


|
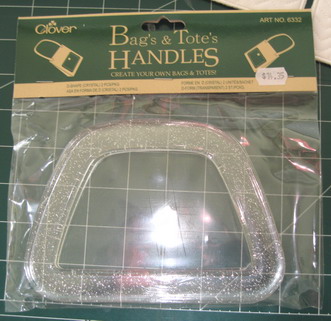
Notions
|
|
| |
|
|
Instructions for your stabilizers Hoop your white fabric with 1 sheet of “Cut Away” Once you have your hoop in the machine then slide under “Stitch N shape” Start stitching |
|
| |
|
|
PLEASE NOTE: Some photographs below are from my Winter Wonderland set
Below are the Instructions for
|
|
| |
|
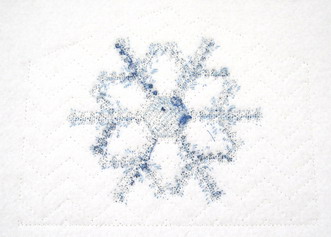 |
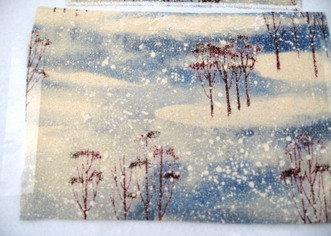
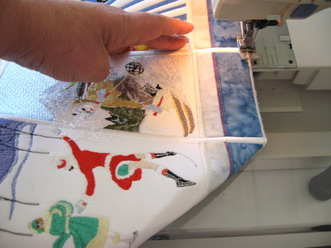
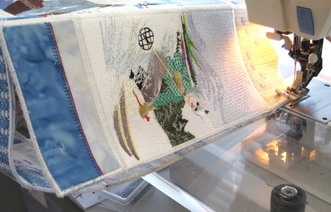
Stitch out Snow_01 (These following instructions apply to all the Crystal bag panel scenes) Take the hoop out of your machine (Do not take the snow_01 out of the hoop) turn the hoop over so that the back of the Snow_01 is facing you. |
| |
|
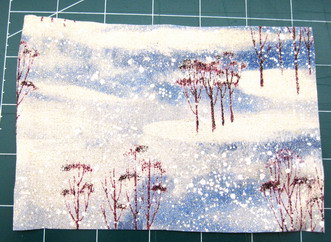 |
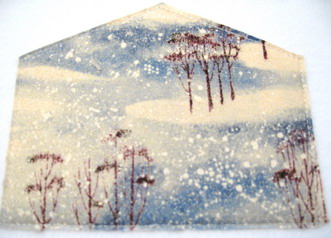
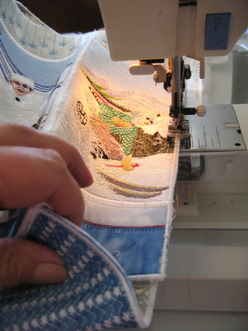
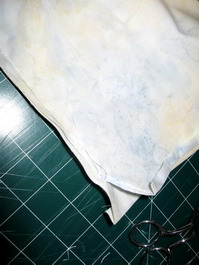
Cut a piece of the backing fabric larger than the Snow_01. |
| |
|
 |
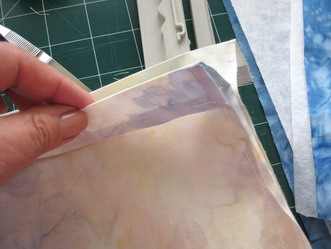
Put the piece of backing fabric you just cut out over the back of the Snow_01. Not forgetting to have the right side of your backing fabric facing you. |
| |
|
 |
|
| |
|
 |
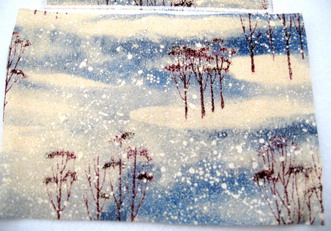
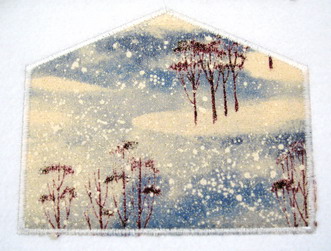
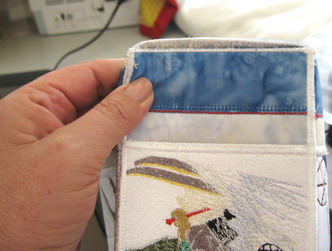
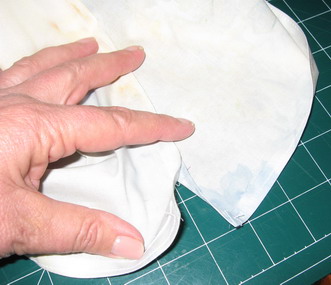
Take the sticky tape away. Cut away the backing fabric keeping the winter scene in the hoop at all times. |
 |
Backing fabric cut. |
| |
|
 |
|
| |
|
 |
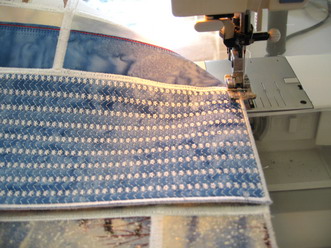
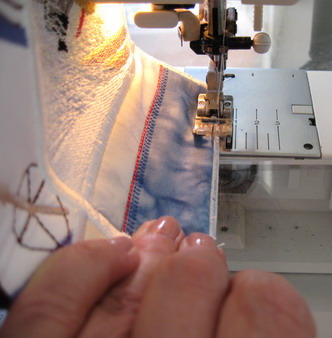
Satin stitch border from the back |
| |
|
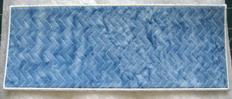 |
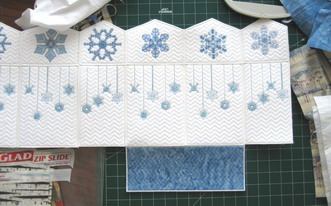
This is the base of the bag. I suggest you use a dark fabric for the base of the bag as this is the part of the bag that always seems to get dirty |
| |
|
|
I had a large enough hoop to be able to stitch the base in one go “Crys_Bag Under_03” If you do not have a large enough hoop I have designed the base so you can stitch
|
|
| |
|
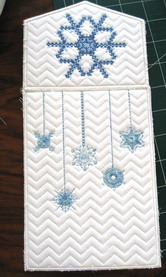 |
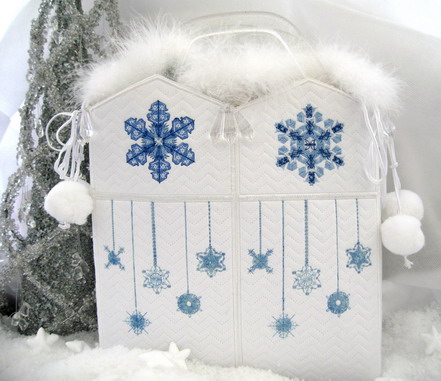
The photo to the left shows you: “Snow_02” is zigzagged to “Snow Drops_01” |
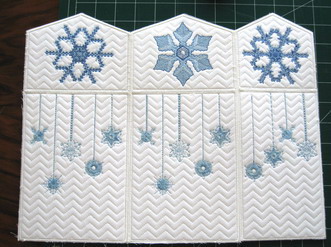 |
The photo to the left shows you panels “Snow Drops_01” and “Snow Drops_02” Top Section “Snow_02” “Snow_01” and “Snow_05” |
| |
|
 |
The photo to the left shows you the actual layout of each panel |
 |
Join the short end of the base to “Snow Drops_02” |
 |
Stitching the short end of the base to “Snow Drops_02” |
| |
|
 |
Stitching the other side of the base to “Snow Drops_01” |
 |
Stitching the base to “both Snow Drops_01 |
| |
|
 |
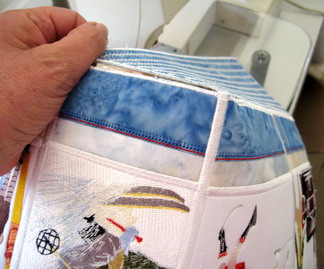
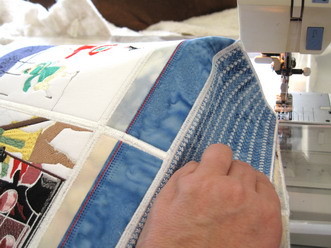
Bending and pushing to get “Snow Drops_02” stitched to the base. This takes a bit of tugging and pulling to get the sides together correctly. |
| |
|
 |
Stitching the “Snow Drops_02” to “Snow Drops_01” |
 |
Showing you from another angle the stitching “Snow Drops_01” to “Snow Drops_02” |
 |
Joining “Snow Drops_02” to the base. |
 |
Stitching “Snow Drops_02” to the base. |
| |
|
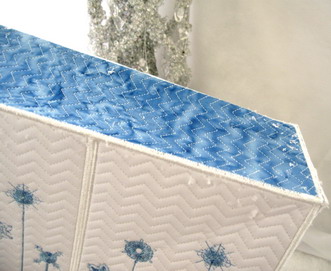 |
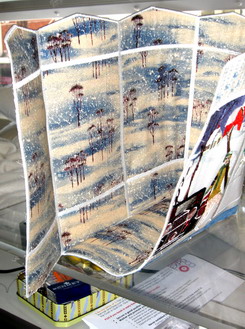
Photo of the bottom layer of the bag all stitched in place |
| Instructions for the draw string on the top of the bag | |
 |
Cut two pieces of fabric 40 cm each or 16 inches each width Length 20 cm or 8 inches in depth. |
|
Stitch the hem you just pressed |
|
| |
|
 |
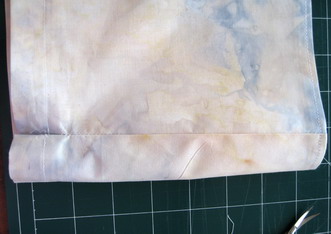
At each end of the two lengths of fabric stitch a small hem from the top down around 8 cm or 3 inches |
| |
|
 |
Press with your iron a clean double hem at one end of the two lengths, wide enough for the draw string to go through 2.5 cm or 1 inch Stitch the hem you just pressed
Press the bottom of the long panel and then stitch |
| |
|
 |
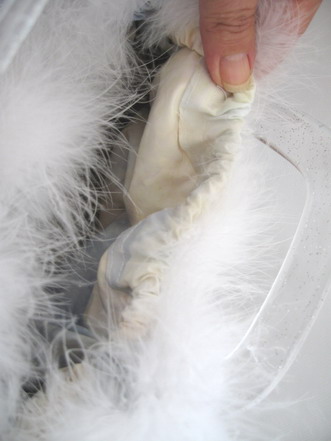
Before you stitch the sides together mark where you would like your stitching to stop, this is where you early on had stitched a small hem on the all the four sides for the draw string to pass through
Stitch both sides |
| |
|
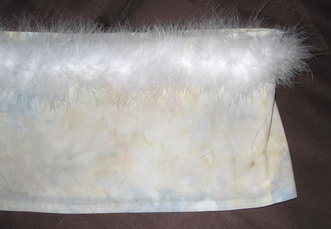 |
I hand stitched the feather boa just below the hem of the draw string |
| |
|
 |
I took this photo after I had hand stitched the handles to the bag |
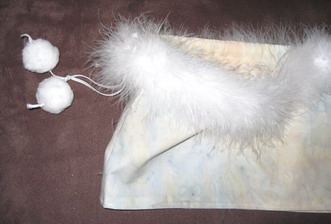 |
You now put the draw string through and I put on the drawstring at each end a pompom, this is just a bit of fun, but looks great. |
 |
I then hand stitched the handles onto the lining fabric. |
| |
|
 |
You glue the fabric to the inside of the bag making sure that the some of the fabric and boa are up over the top panels of the bag. I then stitched the crystals onto the bag |