


Wild and Free Machine Embroidery Design Instructions

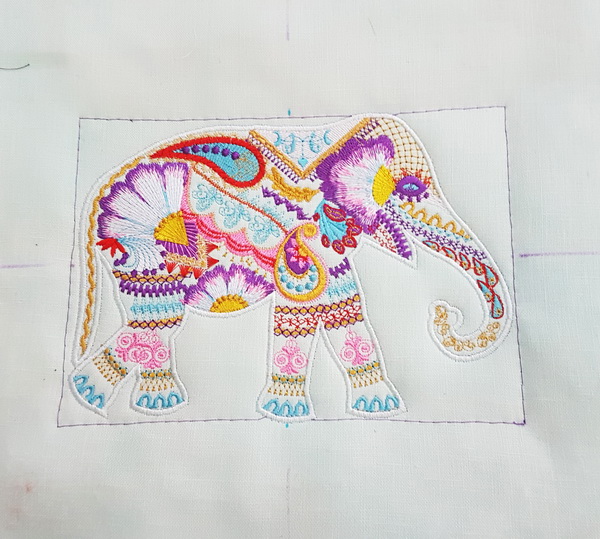
- Stitch “Wild and Free_01”
- Stitch “Wild and Free_05”
- Stitch out “Wild and Free_03” to make a template as shown in the Instructions.
- The approximate size of the border on the cushion is 26 x 29 cm or 10.2 x 11.5 inches
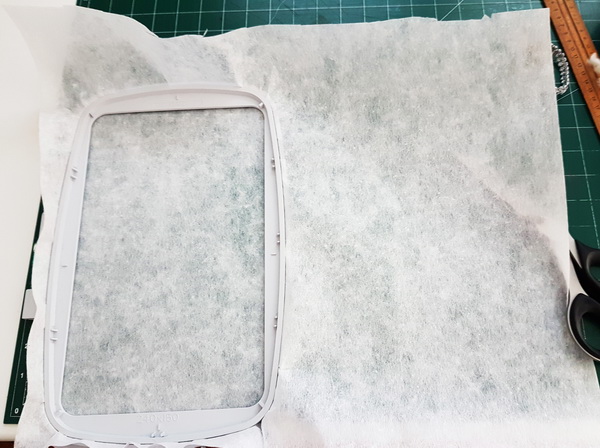
To make the template, stitch the design “Wild and Free_03”
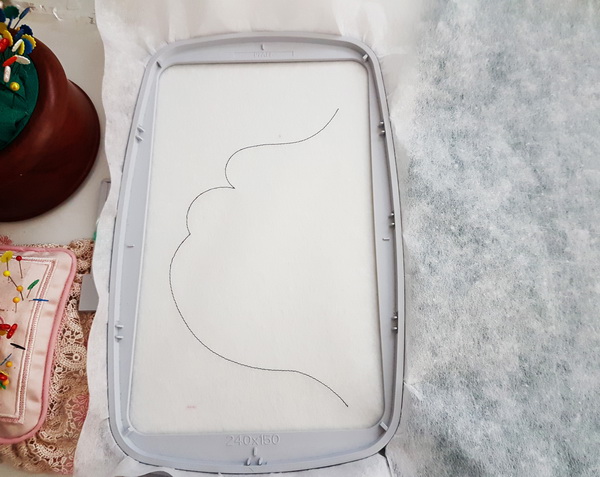
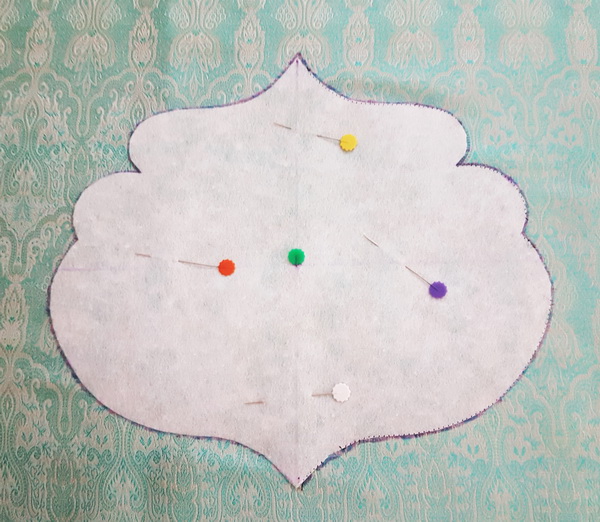
Stitch the template onto the tear away
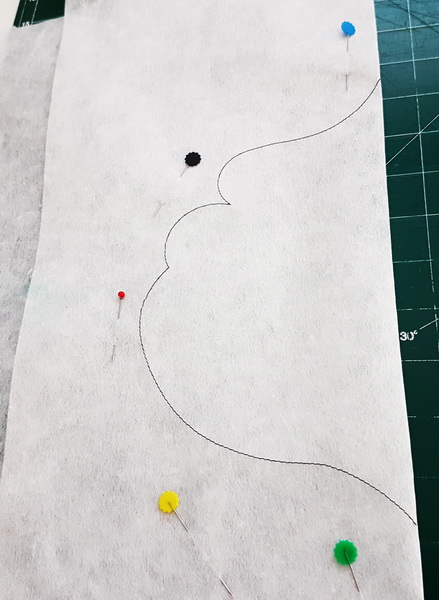
Fold the tear away in half and pin down both side
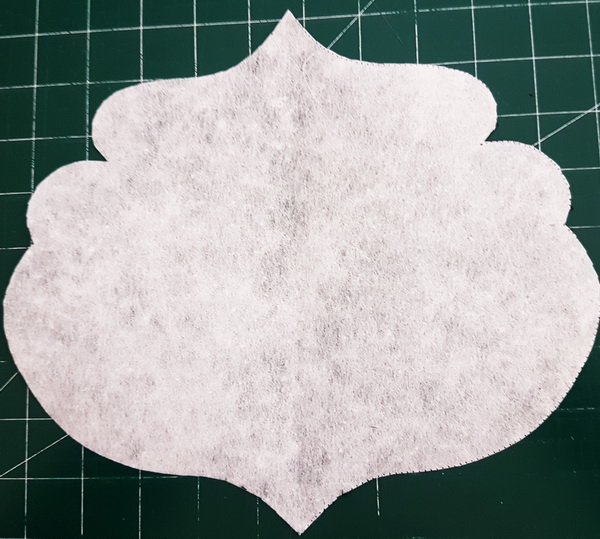
Cut along the stitches
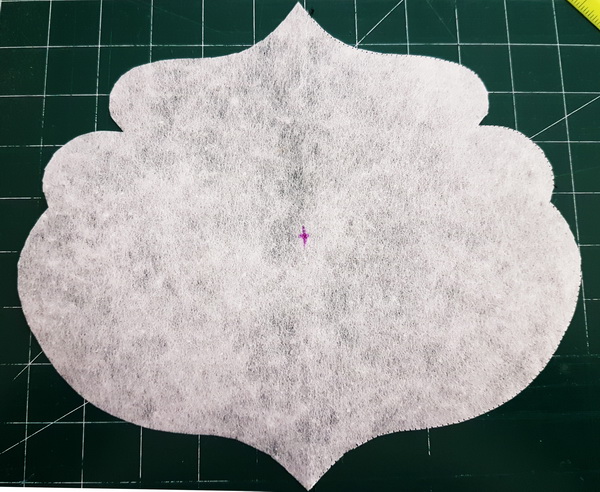
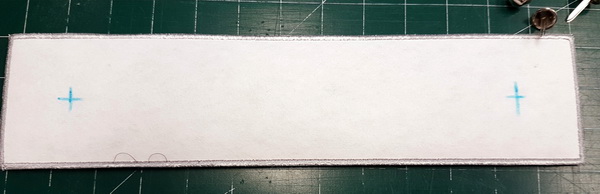
Mark the centre
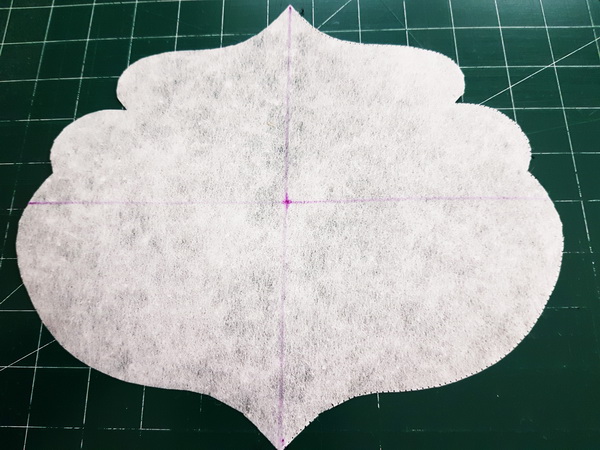
Marking the centre of the template with a ruler
Mark the centre of “Wild and Free_01”
Mark the centre of your fabric
Line up the fabric with the template
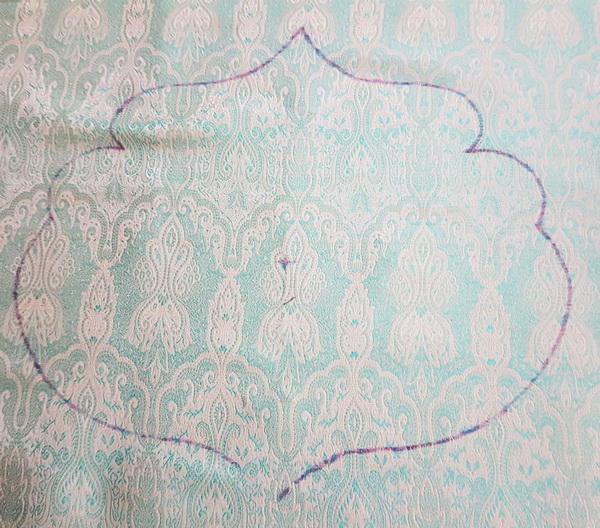
Mark the fabric using the template outline and cross points
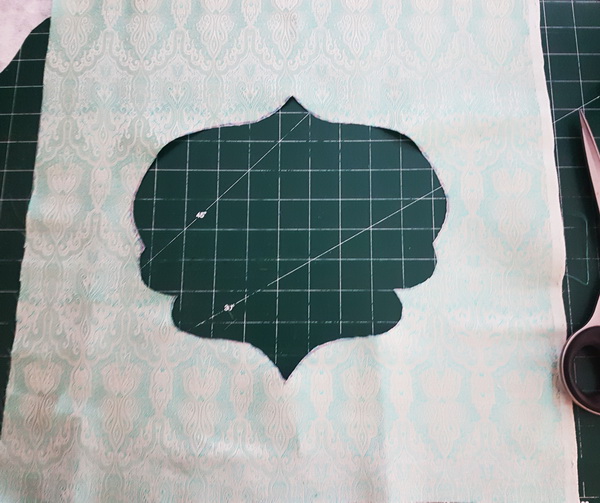
Cut away using the outline you had just pencilled in
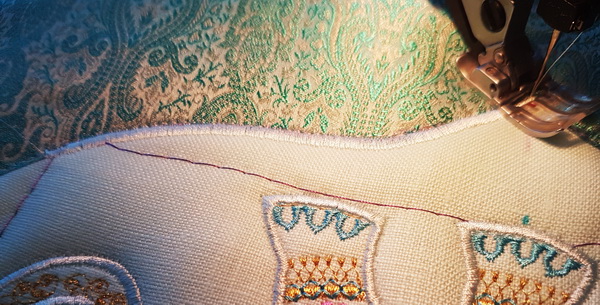
Under the patterned fabric place the plane fabric matching up your cross points
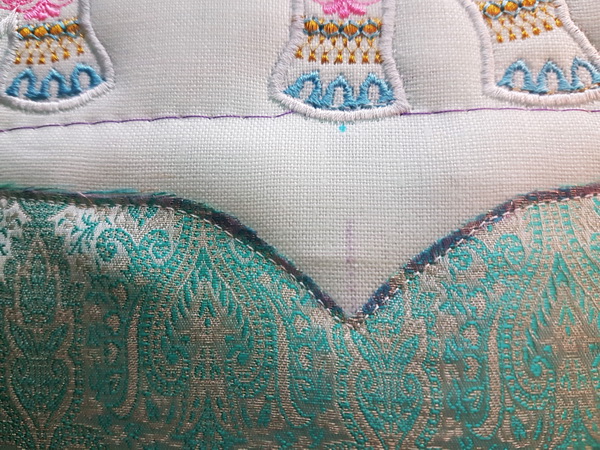
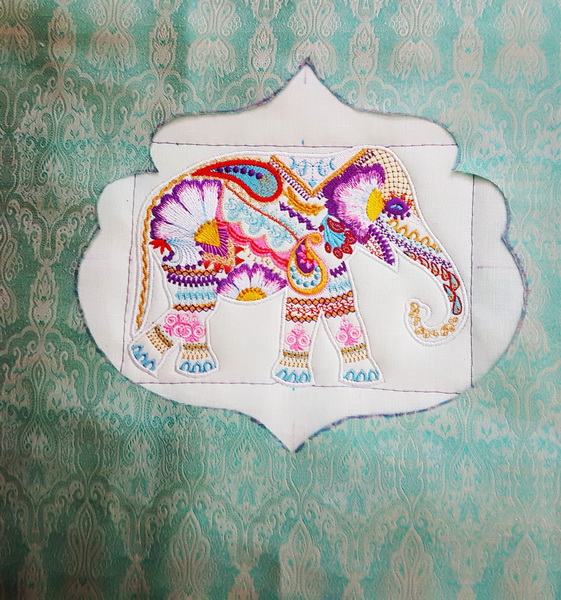
Using a straight stitch, stitch around the fabric template
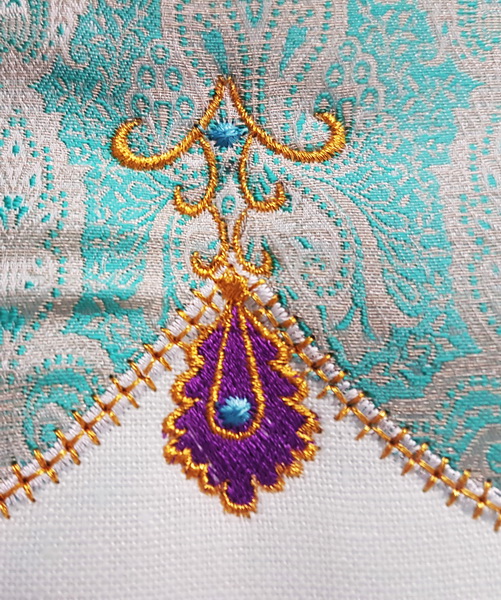
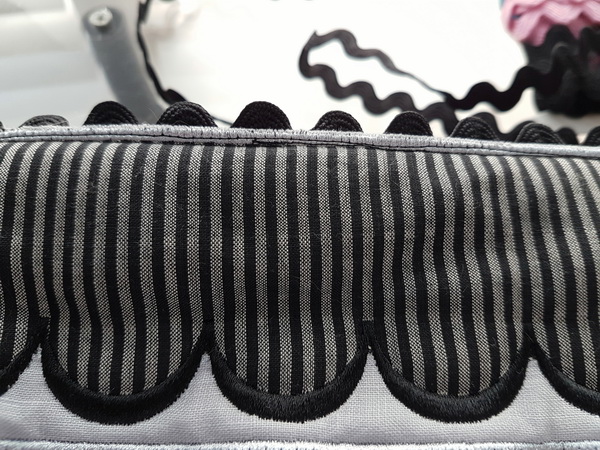
Satin stitch around the fabric template
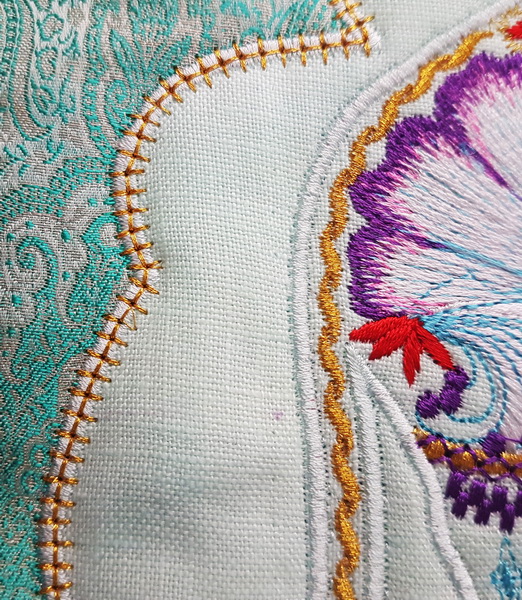
Over the top of the satin stitch I used one of the so many beautiful decorative stitches. This helps bring the whole design together.
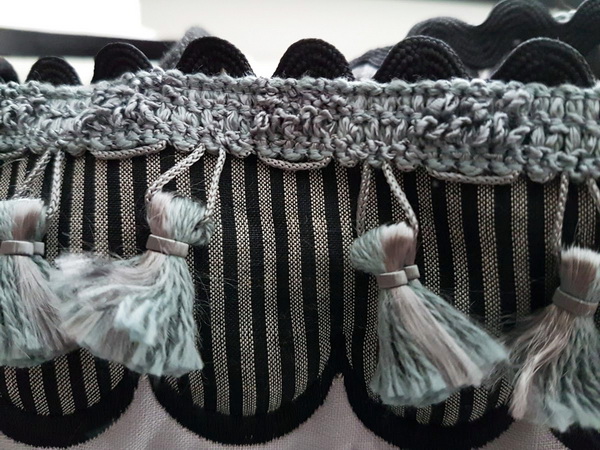
At the top and base of the design I hooped the face of the cushion back into the hoop and stitched “Wild and Free_05”
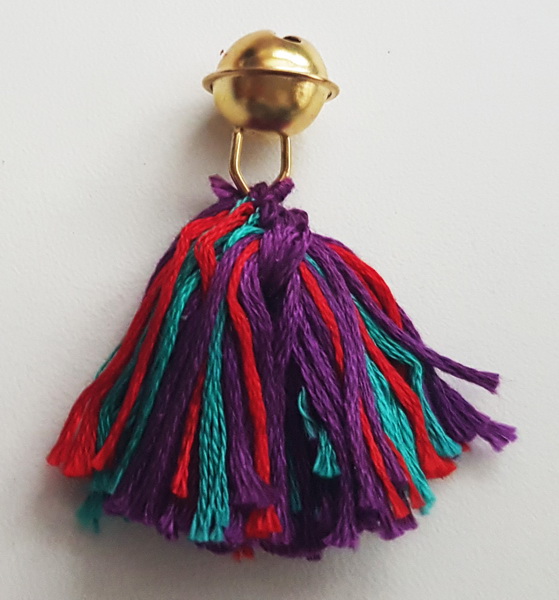
I made a tassel using hand embroidery thread with similar colours that is in the Elephant design
New York Machine Embroidery Design Instructions
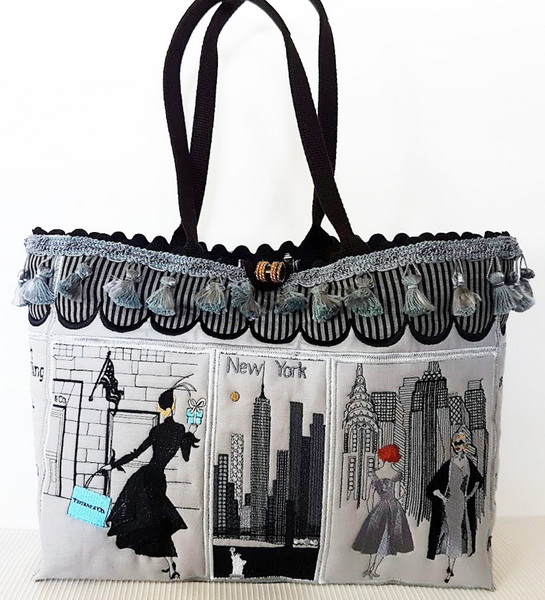
Materials used to make the bag
- 1 meter or 1 yard of medium weight light grey linen
- 1 meter or 1 yard of medium weight wadding
- 2 sheets of heavy weight cut a way stabilizer for each panel
- 1 meter or 1 yard of tassels
- 1 magnet bag catchers
- 1 meter or 1 yard of black rick rack
- ½ meter or ½ yard of cotton lining
For all the panels I used the following
- 2 sheets of heavy weight cut away stabilizer
- Medium weight wadding
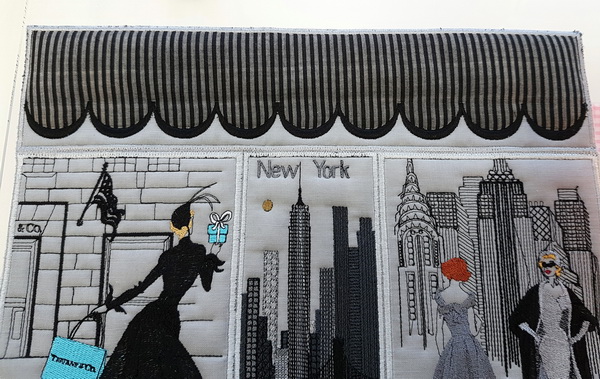
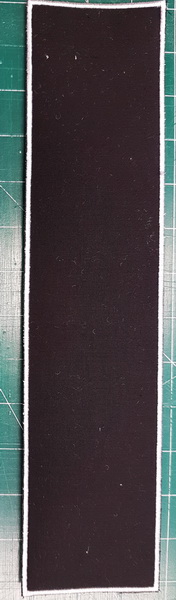
Front of bag
- New York_01
- New York_02
- New York_03
Back of bag
- New York_04
- New York_05
- New York_06
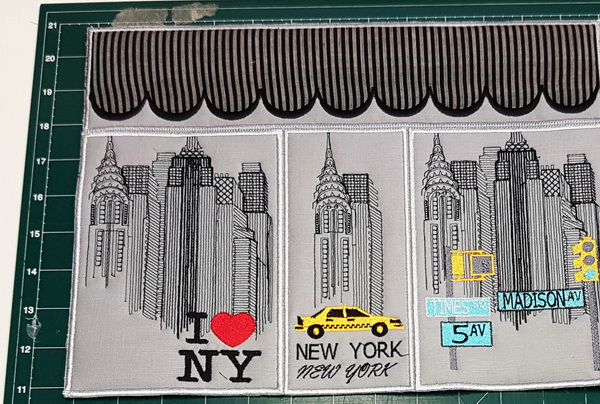
Awning
- New York_08 stitch four times
- New York_09 stitch four times
If you have the 360 x 200 hoop only stitch out
- New York_10
- New York_08 two times
2 sides of the bag
- New York_7 stitch twice
Base of the bag
- New York_11 stitch twice
- New York_12
If you have the 360 x 200 hoop only stitch out New York_13
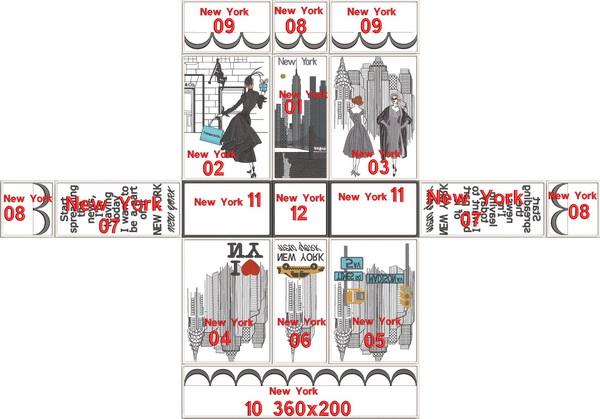
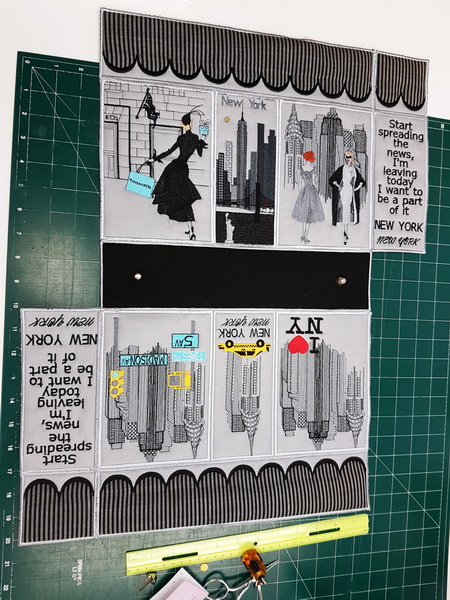
This is the placement for the panels that you have sewn out (You also have the same photo in your colour chart). You will notice I have also included panels for those who have a 360 x 200 hoop for the awnings and the base of the bag.
First of all, do not look to closely as this work as they are my first stitch outs.
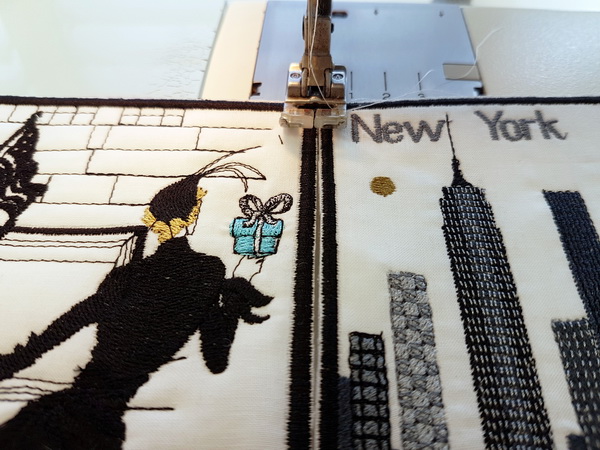
TIP I always start to stitch about half an inch down from the top of the panels and then reverse back over the stitches to the top, that way you should not get any movement.
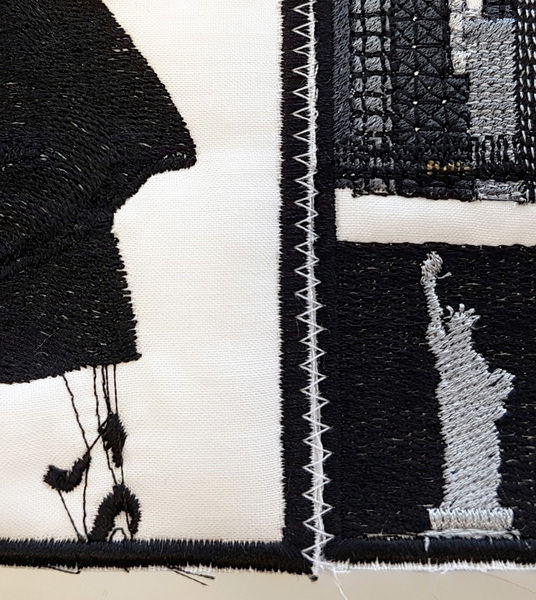
Zig zag stitch over the satin stitch border in the same colour thread as you stitched the satin stitch border. (I am showing the zig zag stitch in a white cotton so you can clearly see what I am doing.)
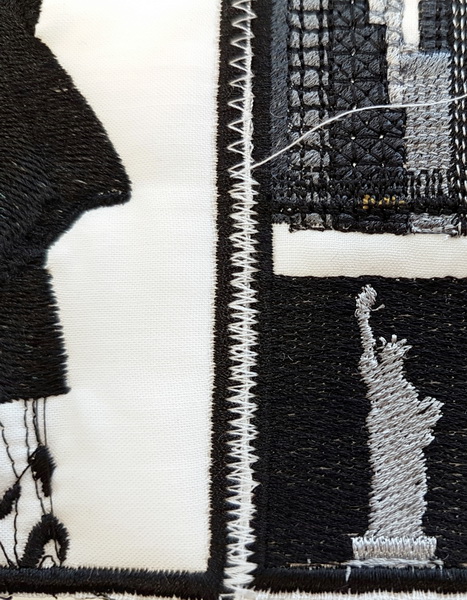
Repeat the zig zag stitch.
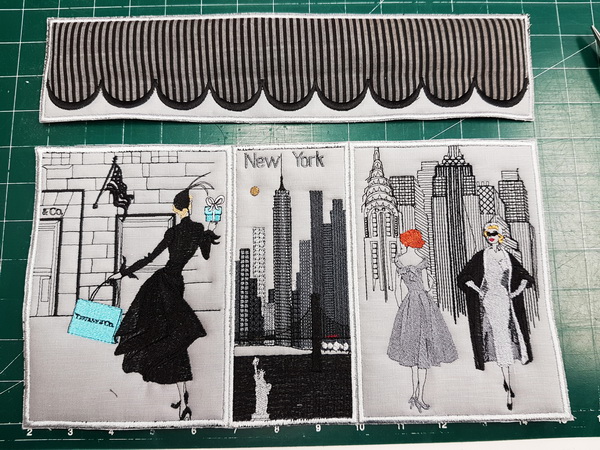
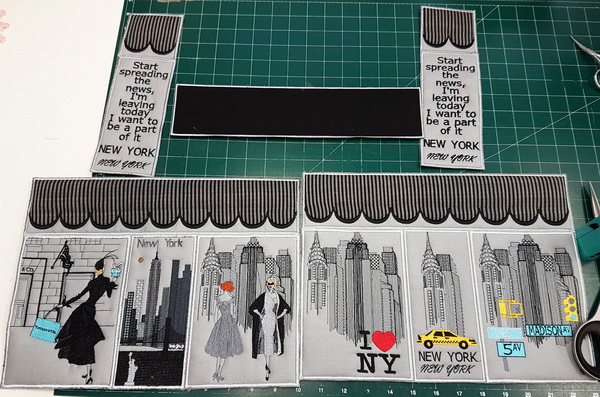
Stitch the following panels together with a zig zag stitch. Take note of the order of the panels. (New York_02 to New York_01 to New York_03)
- New York_02
- New York_01
- New York_03
Stitch the following panels together with a zig zag stitch.
If you are using the 360 x 200 hoop, please ignore this step as these panels are already joined in the New York_10_360 x 200 panel)
- New York_09
- New York_08
- New York_09
Zig zag sitch the awning panels together (New York_09, New York_08, New York_09) to New York_02, New York_01 and New York_03 as shown above.
Stitch the following panels together with a zig zag stitch. Take note of the order of the panels. (New York_04 to New York_06 to New York_05)
- New York_04
- New York_06
- New York_05
Stitch the following panels together with a zig zag stitch.
If you are using the 360 x 200 hoop, please ignore this step as these panels are already joined in the New York_10_360 x 200 panel)
- New York_09
- New York_08
- New York_09
Zig zag stitch the awning panels together (New York_09, New York_08, New York_09) to New York_04, New York_06 and New York_05.
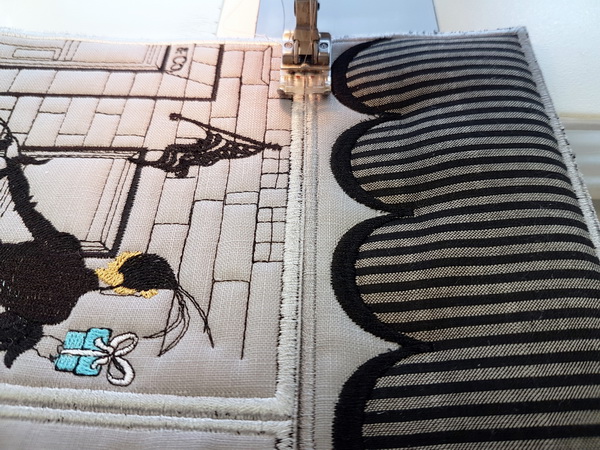
Zig zag stitch New_York_08 to New York_07. (Remember there are 2 New York_7 panels).
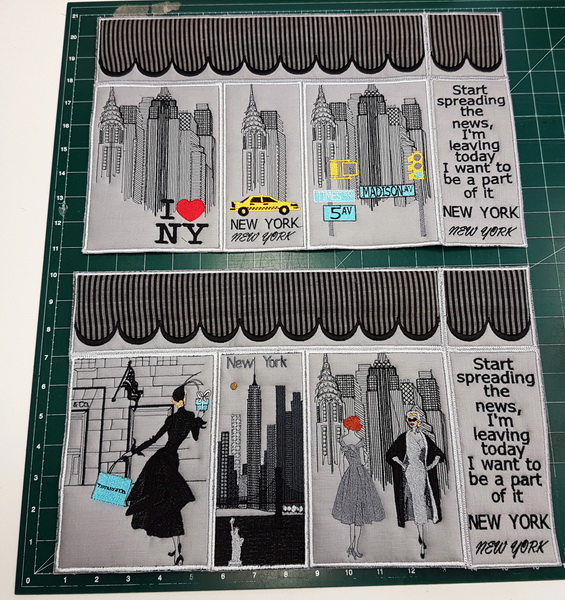
- Zig zag stitch New York_07 to the right of the panels (New York_02, New York_01 and New York_03) as seen on the above photo.
- Zig zag stitch New York_07 to the panels to the right of (New York_04, New York_06 and New York_05) as seen on the above photo.
Zig zag stitch New York_11 to New York_12 to New York_11 to make the base of the bag
If you have the 360 x 200 hoop please ignore this step as you should have this stitched out as New York_13
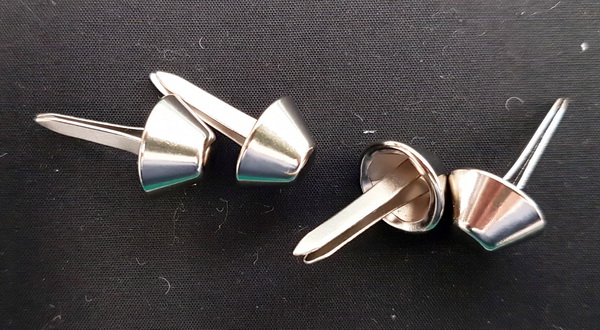
Gather your purse feet if you would like to add them to the bottom of your bag. They are very easy to install.
Mark where you would like to place the purse feet
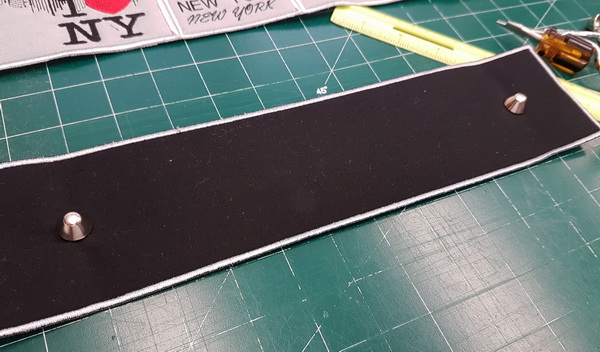
Install the purse feet
Zig zag stitch the base to the bag as you can see in the photo above.
Stitch the two sides together using a zig zag stitch. It is a bit tricky this part but just take your time and squish the bag down.
Attach the base and sides by using a straight stitch along the edge of the satin stitch.
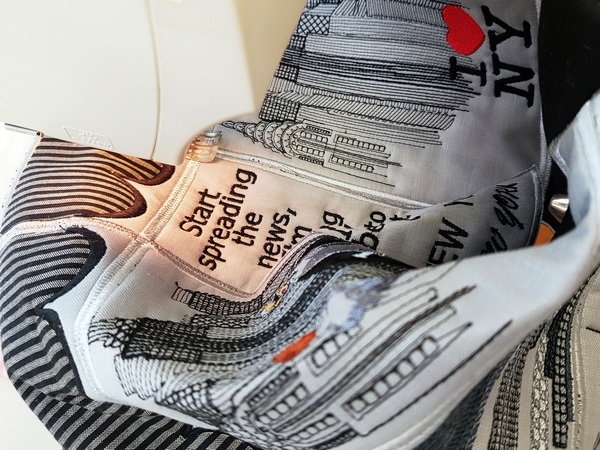
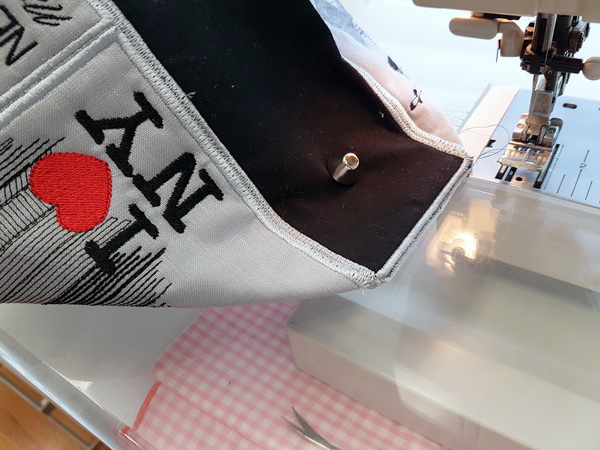
At this stage you should put those magnetic catches to the lining of the bag, which I normally do. I forgot! I realised this when I had already stitched the lining to the bag. To compensate for this, I foraged through my mother's, grandmother's and auntie's collections of buttons and found this divine metal button. I stitched the button on and used a hair band to keep the bag closed.
Attach lining to the bag.
Place Rick Rack over the lining on the inside of the bag and stitch down. You do not have to do this but I thought it just gives the bag that little extra something!
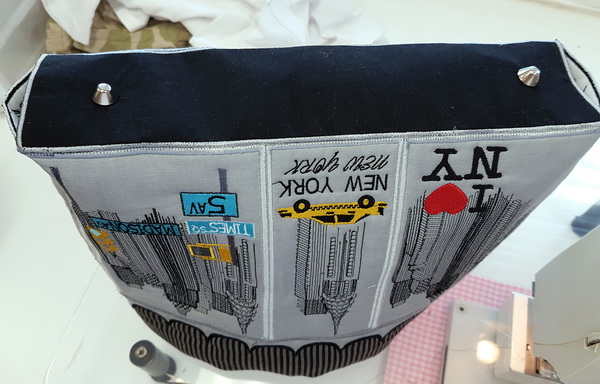
Stitch the tassels to the outside of the bag.
Attach the bag handles to the bag, I did this by hand sewing them to the lining.
Your completed bag! Enjoy
Machine Embroidery Designs
Latest Releases
Folklore Machine Embroidery Designs
Released on the 25th June 2019

6 designs included in the Folklore machine embroidery design set.
The Folklore design is suitable for a 6 x 10 inch or 240mm x 150mm hoop.
The Folklore design is available in DST, EMB, EXP, HUS, JEF, PES, VIP, VP3 and XXX.
The colour chart is included in the design set
As I am now digitizing with Wilcom embroidery software (which is a commercial software) we are unable to convert files to ART format. Bernina embroidery machines will now need to purchase designs in EMB or EXP format. Sorry for the inconvenience.

