


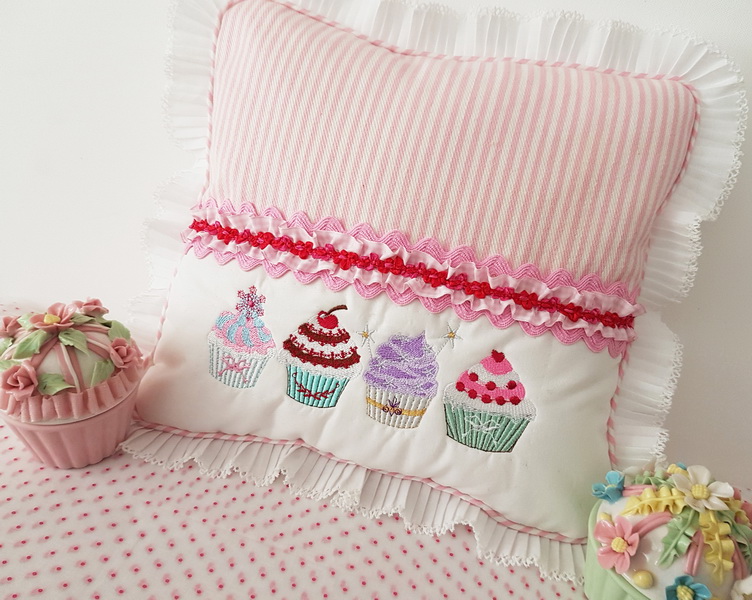
Sorbet Shades Instructions
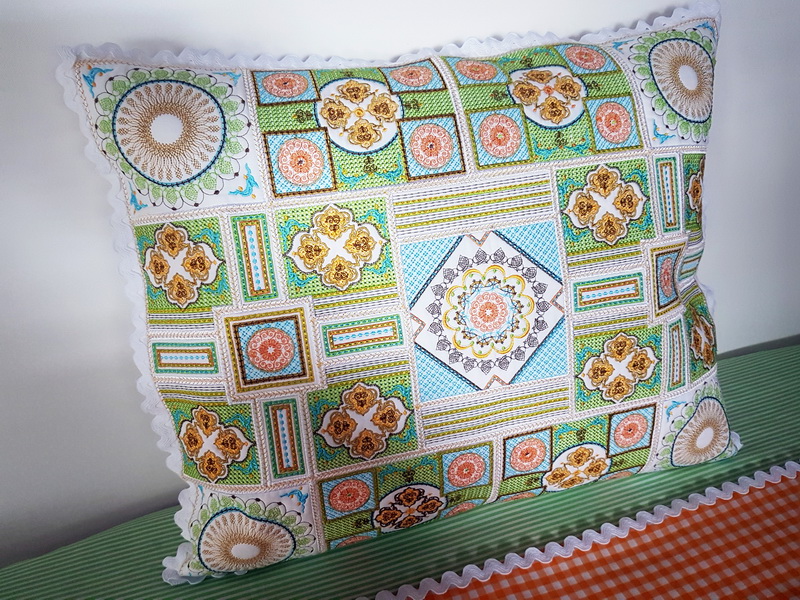
This design was stitched on white cotton fabric The size of the cushion is 53 x 43 cm or 21 x 17 inches
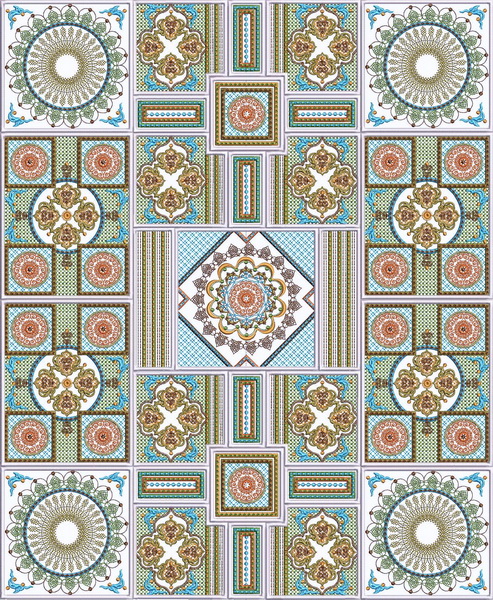
Instructions on how to put the designs together to make either a stunning quilt or a beautiful cushion
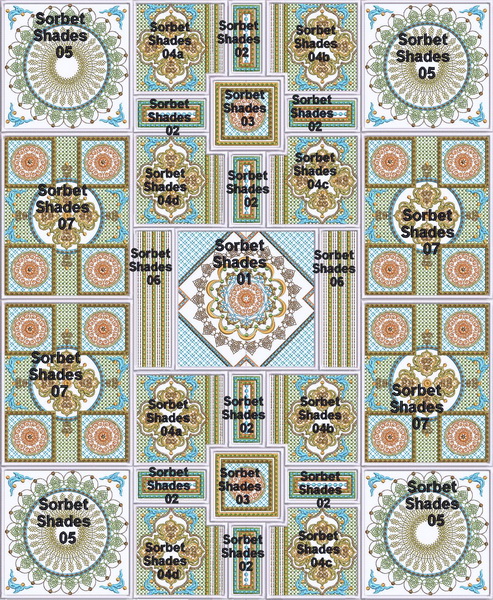
- 1 x Sorbet Shades_01 Stitch
- 8 x Sorbet Shades_02 Stitch
- 2 x Sorbet Shades_ 03
- 2 x Sorbet Shades_04a
- 2 x Sorbet Shades_04b
- 2 x Sorbet Shades_ 04c
- 2 x Sorbet Shades_04d
- 4 x Sorbet Shades_05
- 2 x Sorbet Shades_06
- 4 x Sorbet Shades_07
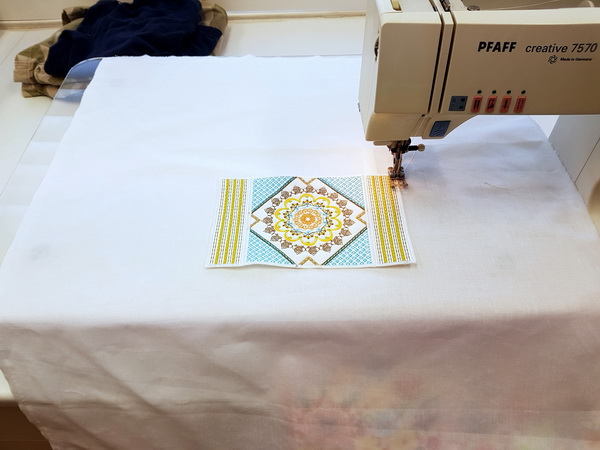
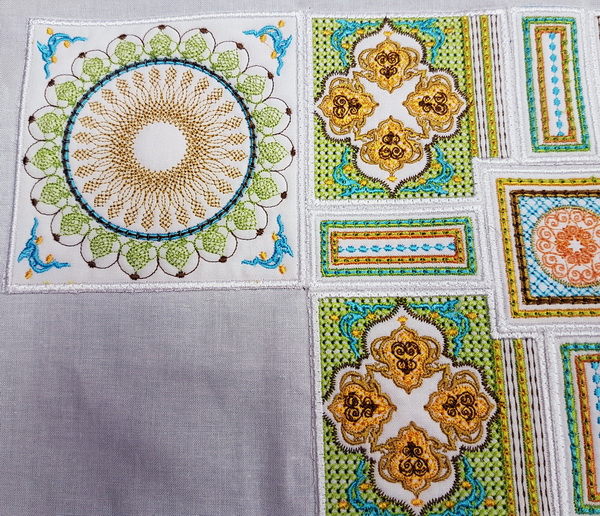
Position “Sorbet shades_01” in the centre of the fabric. I lightly glued the design down. Zig zag stitch using the same coloured thread around the satin stitch border
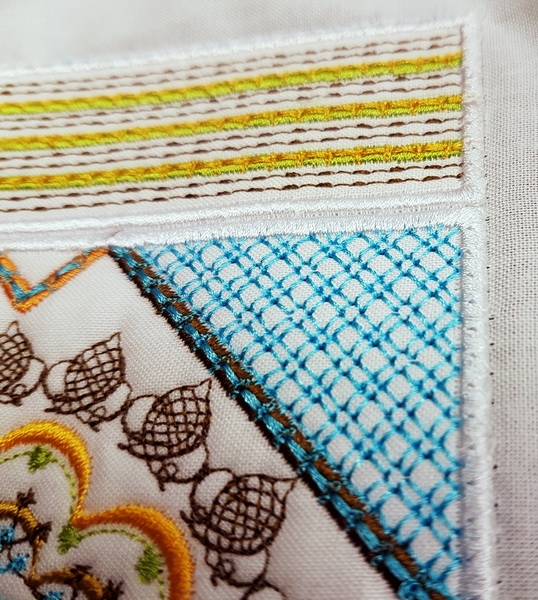
Position with glue and Stitch “Sorbet Shade_06” beside “Sorbet Shade_01” and zig zag stitch on the satin stitch border
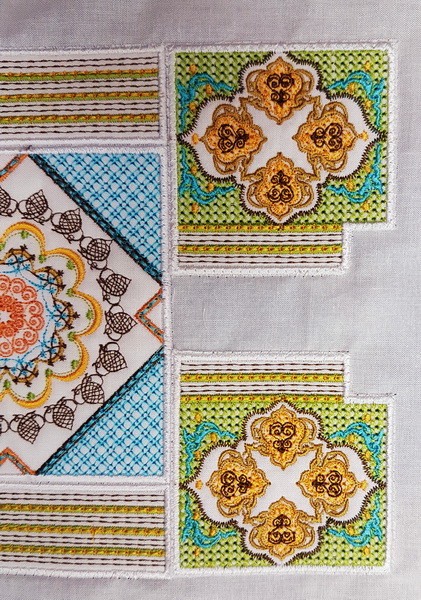
Position and lightly glue down “Sorbet Shades_04c and _04d” above “sorbet Shades_01 and _06” zig zag stitch each around the satin stitch border
Position and lightly glue down “Sorbet Shades_02” in between “Sorbet Shades_04c and 04d” zig zag stitch each around the satin stitch border
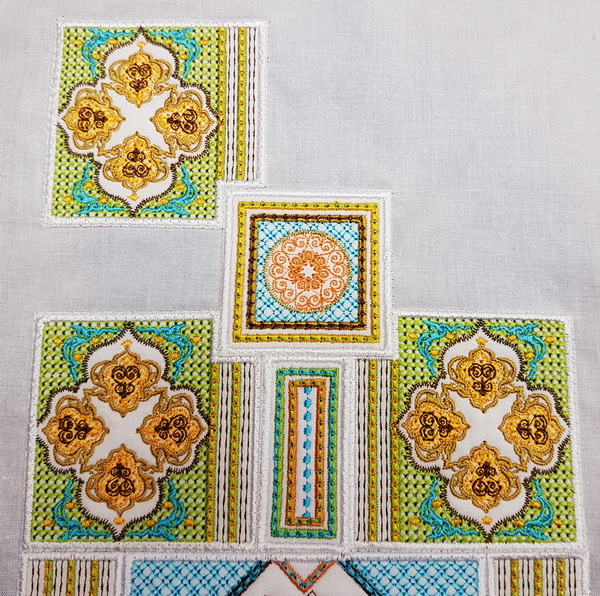
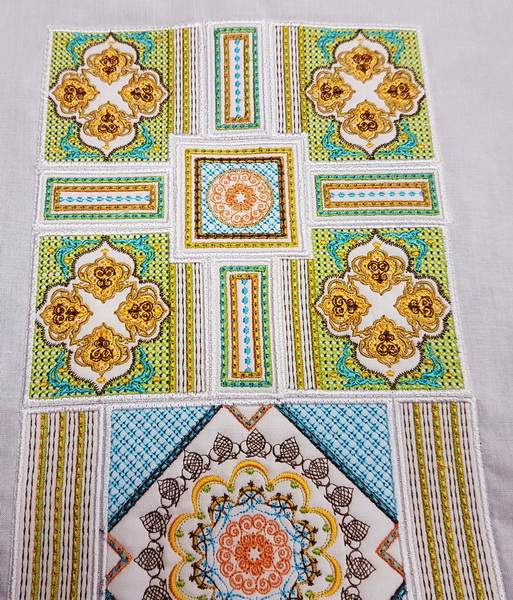
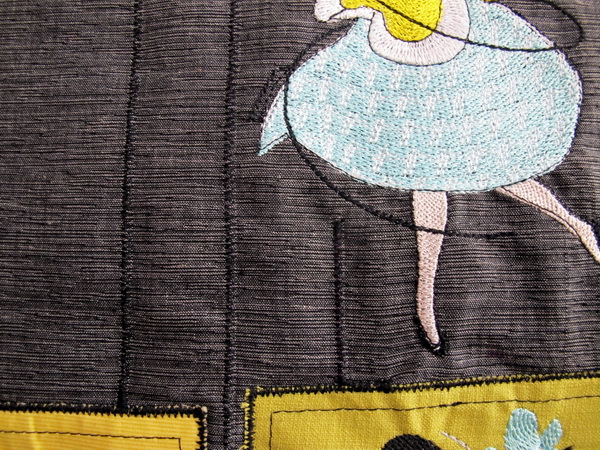
- Position “Sorbet Shades_03” as the above photo
- Position ”Sorbet Shades_04a and 04b” as the above photo
- Position “Sorbet_05” beside “Sorbet_04a and _04b”
- Below “Sorbet_05” positon “Sorbet_07”
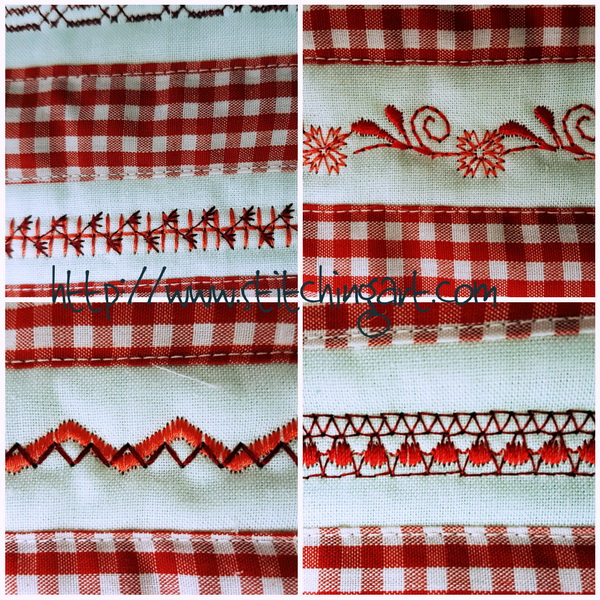
Decorative Stitches
How to use and what to do with the decorative stitches on your sewing machine
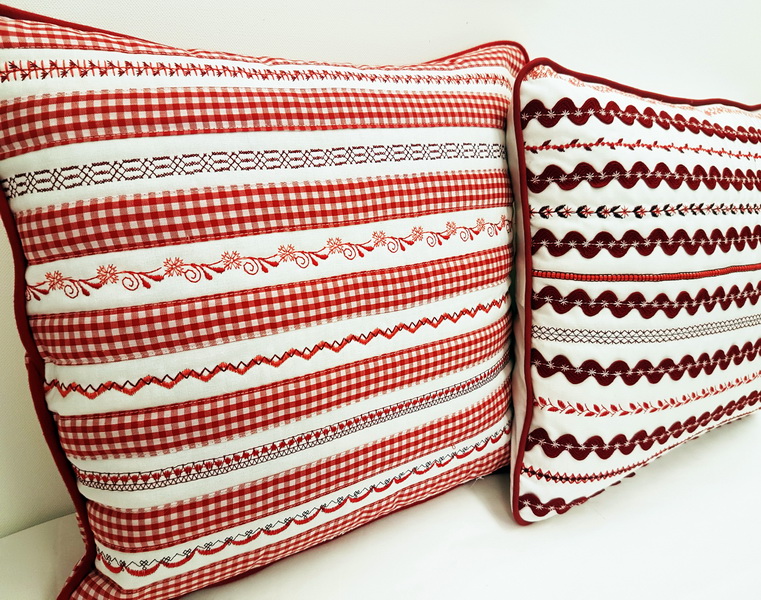
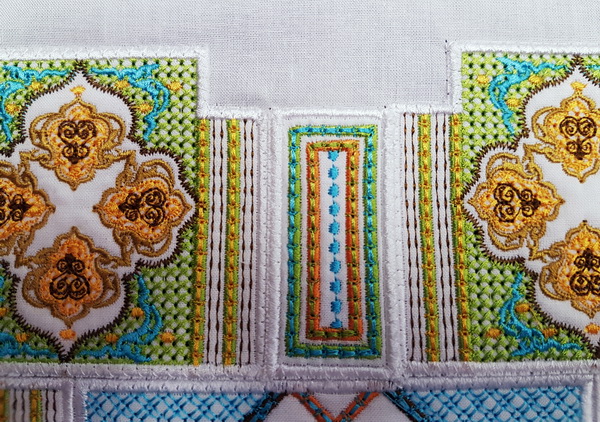
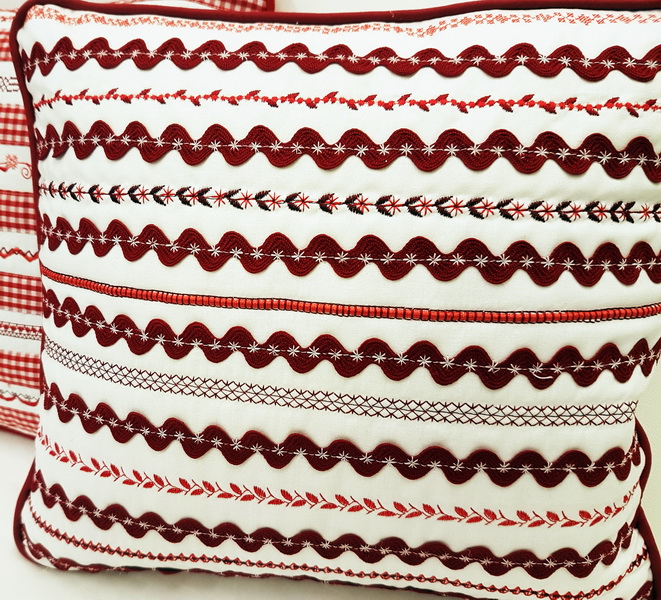
These decorative stitches are in most of your sewing machines, I find many people do not use these beautiful stitches to their full advantage, what I like to do is overlap decorative stitches with different coloured thread, as you can see in the photos. Have fun and experiment!
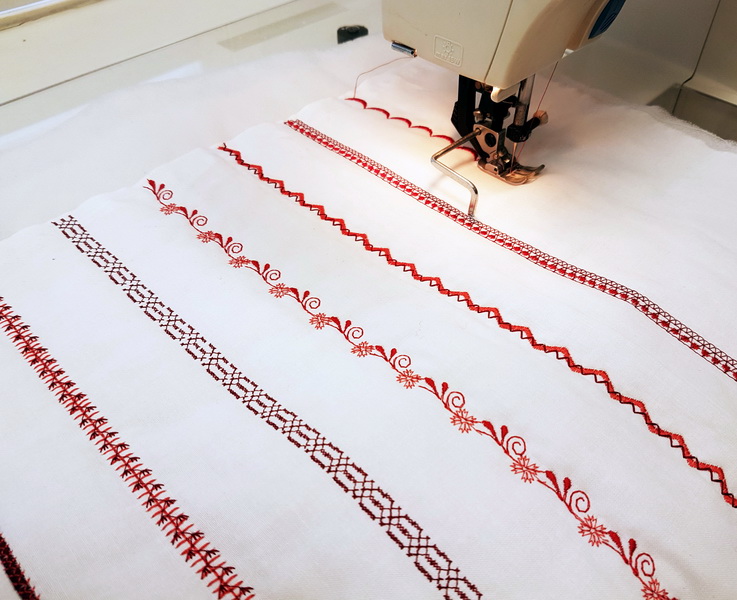
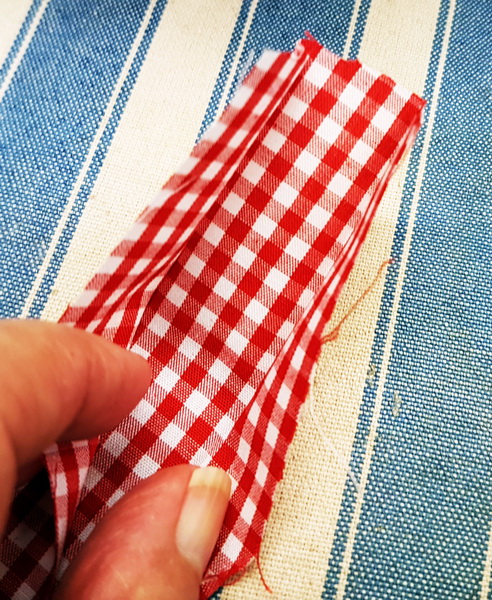
Press the fabric using your iron
Lay the fabric in between the spaces of your decorative stitches and stitch down the fabric
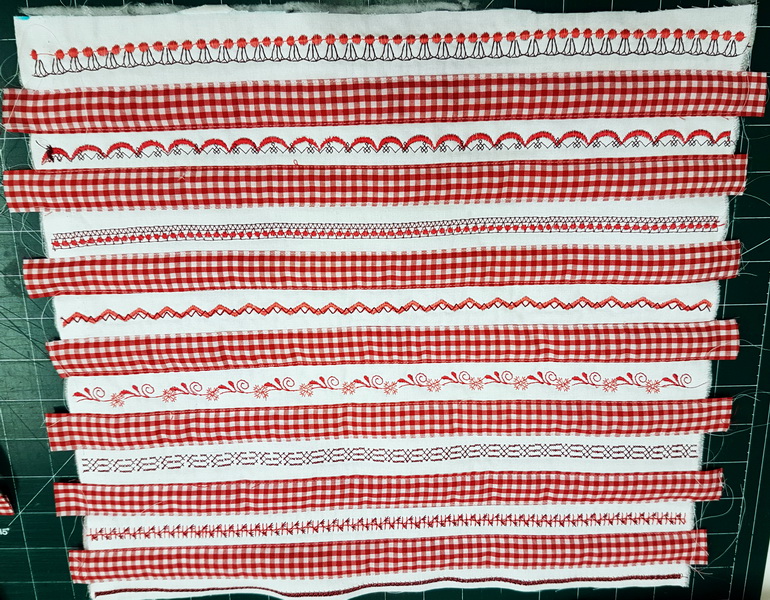
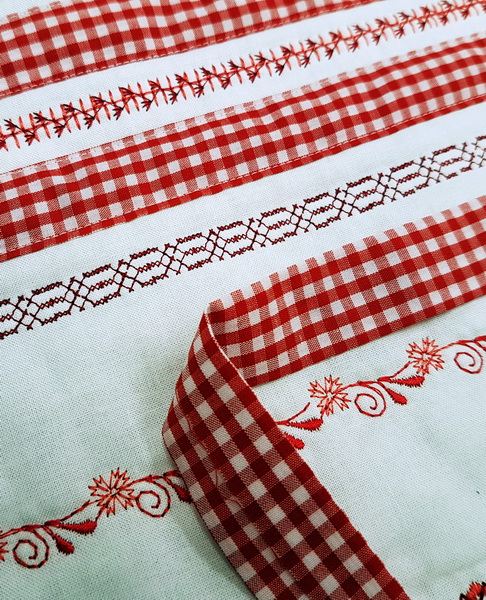
Showing all the fabric stitched down
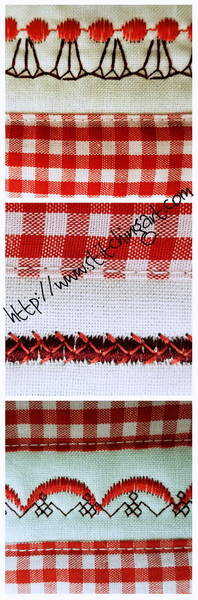
This photo showing you another way of using your decorative stitches in your machine
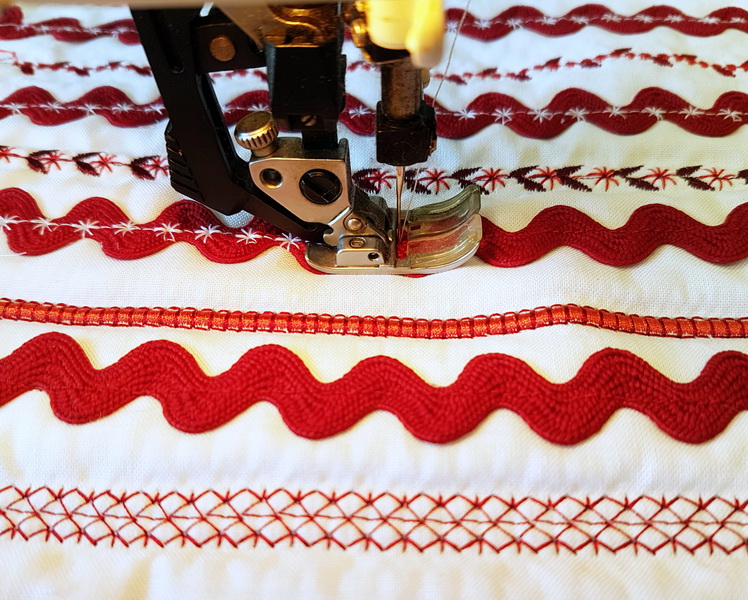
I stitched the rick rack down using a straight stitch and a similar colour thread first.
I then stitched a decorative stitch over the straight stitch in a white thread
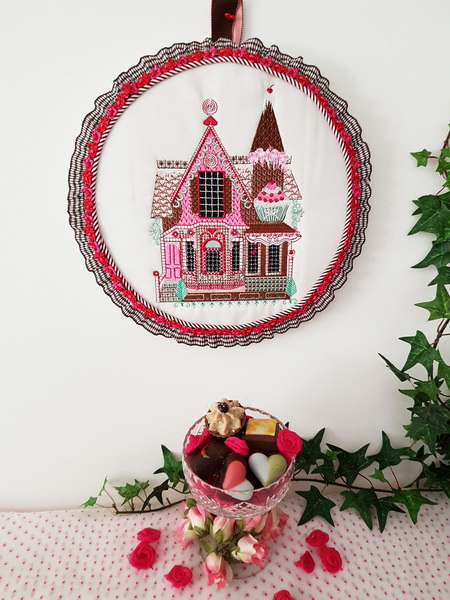
Candy Love Instructions
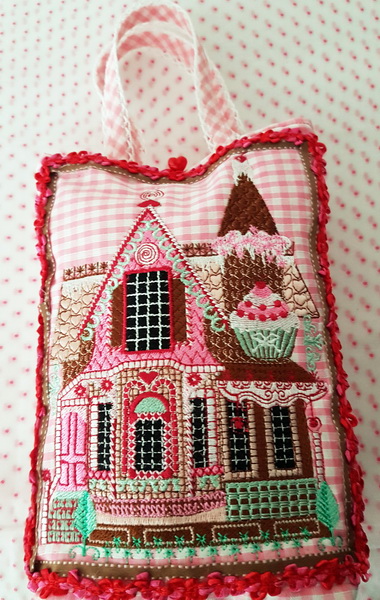
- The bag measures 16 x 21 cm or 8.5 x 6.5 inches
- The design is “Candy Love_01_180x130
- Stitched on pink and white gingham cotton.
I stitched the following designs on the cupcake cushion
- Candy Love_04
- Candy Love_05
- Candy Love_06
- Candy Love_07
Stitched on white cotton fabric
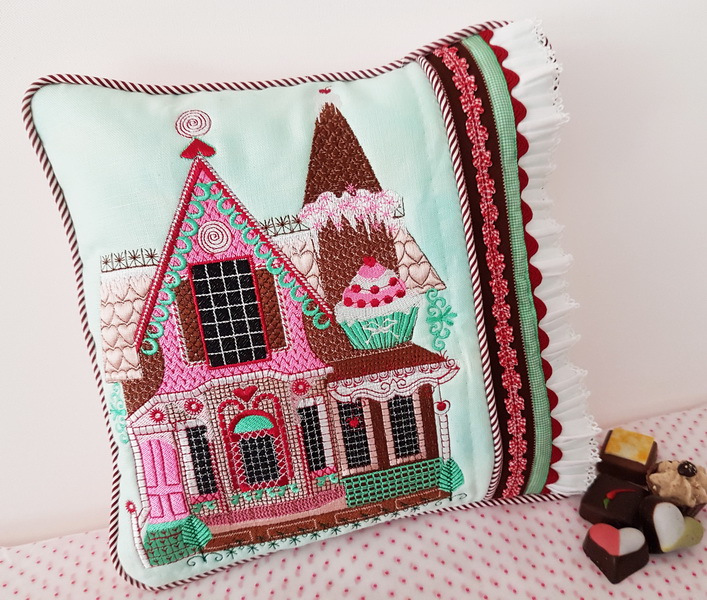
I stitched the following design on the Candy Love cushion
- Candy Love_03_360x200
Stitched on a pale green linen
I stitched the following design on the Candy Love cushion
- Candy Love_02_240x150
Stitched on white cotton
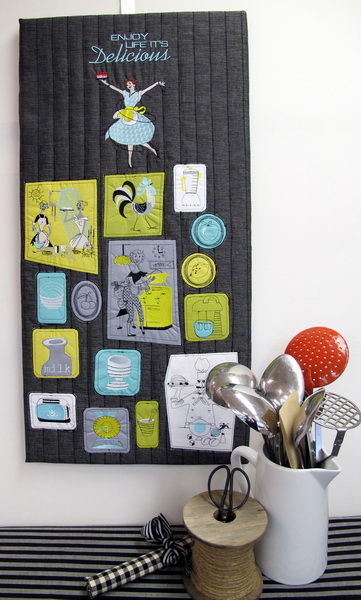
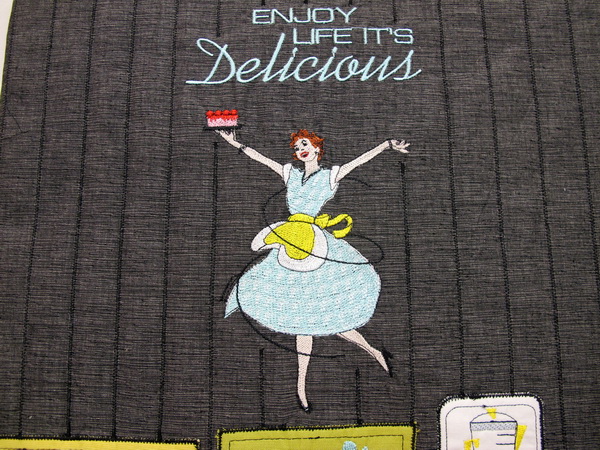
Delicious Instructions
Delicious Board
Please read the instructions carefully before you start
What you will need:
- Canvas board 76cm x 38cm 30 x 15 inches approx.
- 1 meter or 1 yard of Fabric to cover the canvas
- Grey, yellow, aqua, white and mustard fabrics, you do not need a lot of these fabrics, I just used fabric scraps
- Glue

Purchase a canvas board of your choosing, I selected 76cm x 38cm 30 x 15 inches approx.
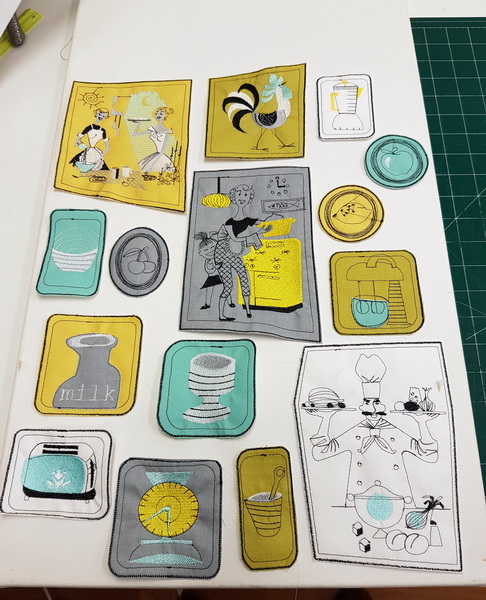
Lay the designs onto the canvas board, once you have the desired look that you like, take a photo
- Stitch out Delicious_17 if you do not have 240 x 150 on your background fabric at the top
- Stitch out Delicious_ 16 (this is for the hoop 180 x 130 or 5 x 7 inches)
- Stitch out above Delicious _18 (this is for the hoop 180 x 130 or 5 x 7 inches)
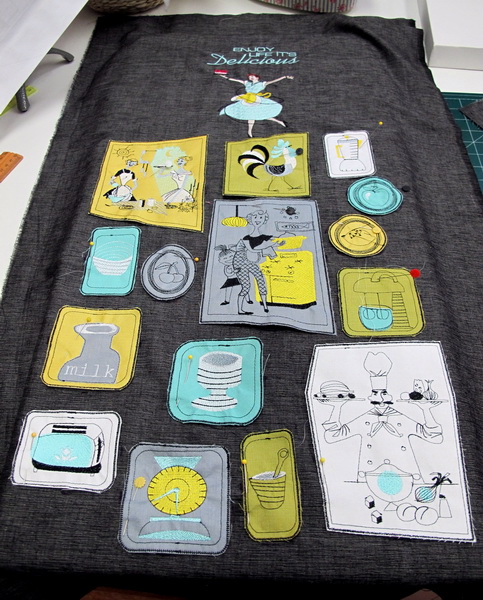
- Pin all the panels on the background fabric
- Lightly glue each of the panels down on the background fabric
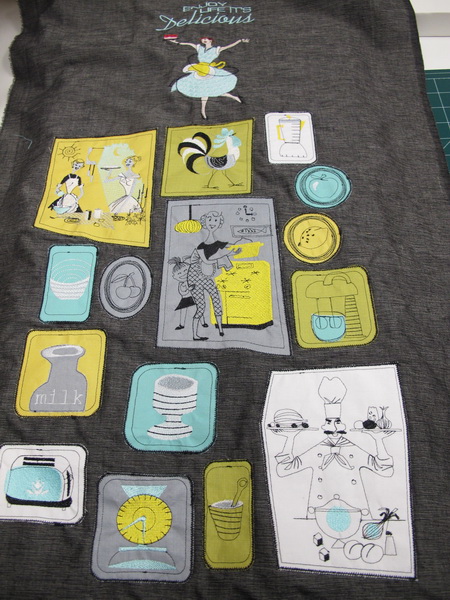
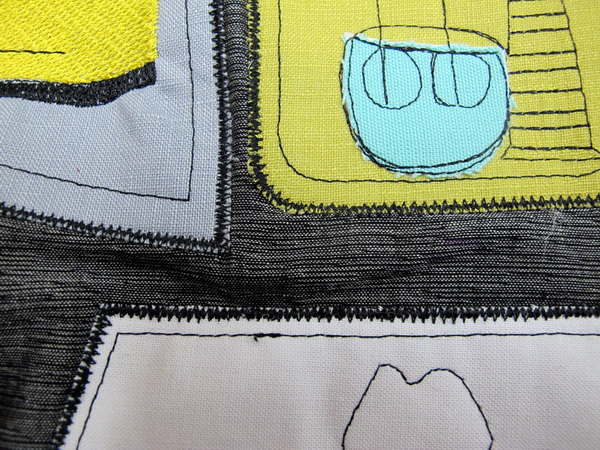
Zigzag stitch each panel down on the background fabric
Once I had completed zigzag stitching all the panels down I felt the work needed a horizontal zigzag stitches on the background fabric, if I had thought about it, I would have done this once I had finished stitching out “Delicious_17” would have been a lot easier!
- Glue the front of the canvas board with wadding
- Staple your work to the back of the canvas board
Machine Embroidery Designs
Latest Releases
Folklore Machine Embroidery Designs
Released on the 25th June 2019

6 designs included in the Folklore machine embroidery design set.
The Folklore design is suitable for a 6 x 10 inch or 240mm x 150mm hoop.
The Folklore design is available in DST, EMB, EXP, HUS, JEF, PES, VIP, VP3 and XXX.
The colour chart is included in the design set
As I am now digitizing with Wilcom embroidery software (which is a commercial software) we are unable to convert files to ART format. Bernina embroidery machines will now need to purchase designs in EMB or EXP format. Sorry for the inconvenience.


