


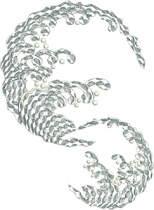
Blue Crush Instructions
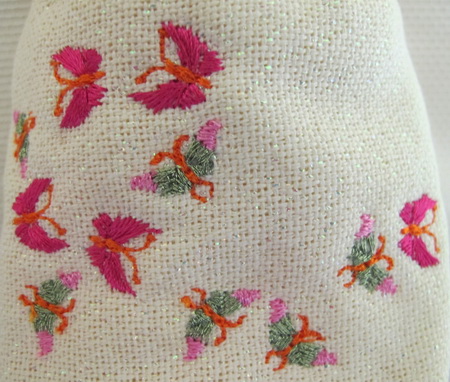
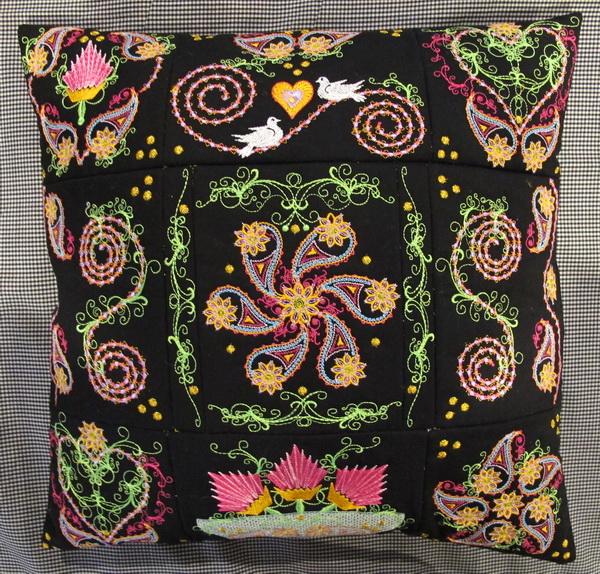
Blue Crush Cushion
Stitch out the following designs
- 2 x Blue Crush_10
- 2 x Blue Crush_12
- 8 x Blue Crush_13
- 4 x Blue Crush_14
- 4 x Blue Crush_14 mirrored
- 4 x Blue Crush_15
- 4 x Blue Crush_17
- 4 x Blue Crush_18
- 4 x Blue Crush_18 mirrored
- 2 x Blue Crush_19
- 2 x Blue Crush_19 mirrored
Notions
- 4 Tassels
- 3 yards of thin wadding
- Tear Away stabilizer
- 3 yards or 3 metres of cotton fabric (I used a pale blue cotton fabric) I always buy and recommend more fabric than you may need.
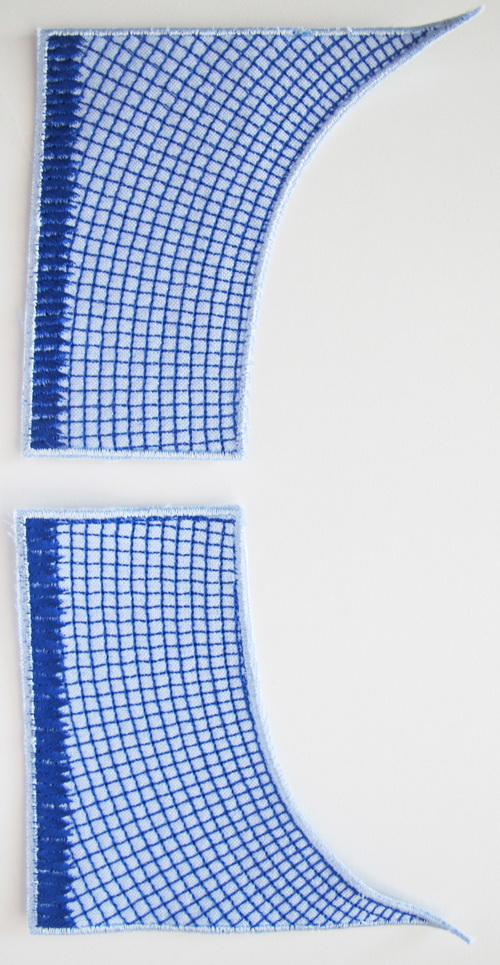
Once you have stitched all the designs out, using your sharp scissors cut as close as you can to the satin stitch borders
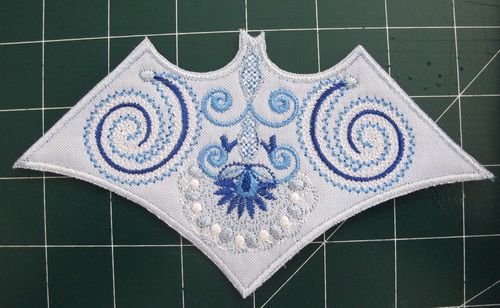
Photo above showing you the design cut very close to the satin stitch border
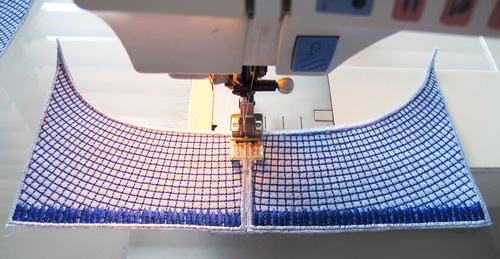
Zigzag stitch the two together
Joining two of the “Blue Crush_14” together by using a zigzag stitch
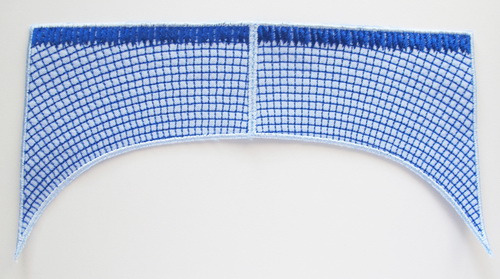
Zigzag stitch all “Blue Crush_14” together as you can see in the photo above

This part is important:
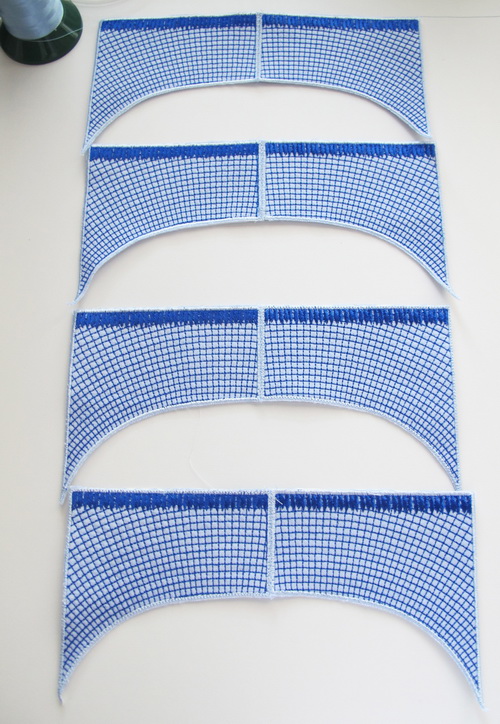
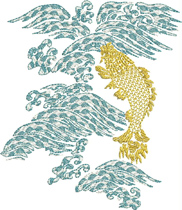
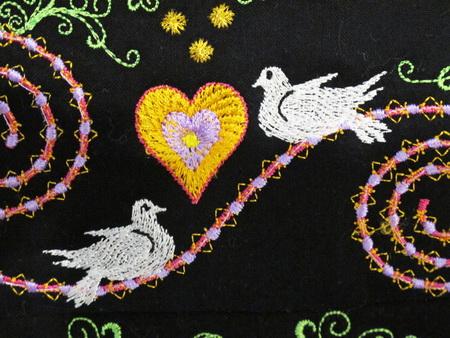
Lay all the above designs onto your background fabric and move the designs around until you are satisfied the designs are positioned correctly
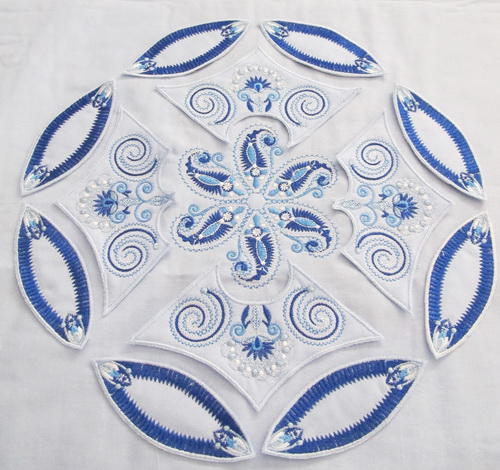
ake away the outer designs as you have the “Blue Crush_13” correctly positioned
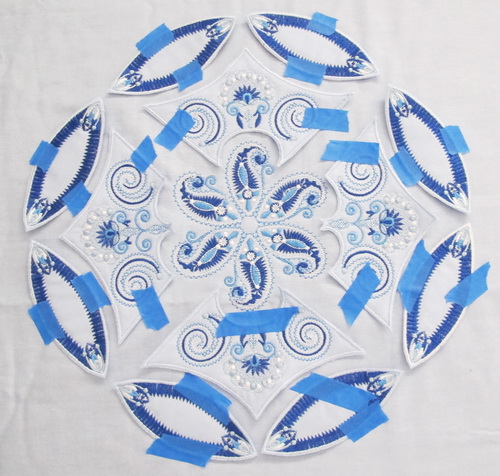
This is a great hint I picked up from “Pinterest” using “Scotch Blue Painters Tape” to keep each design in place before I lightly hot glued each design onto the background fabric
Zigzag stitch each of the satin stitch borders to the background fabric
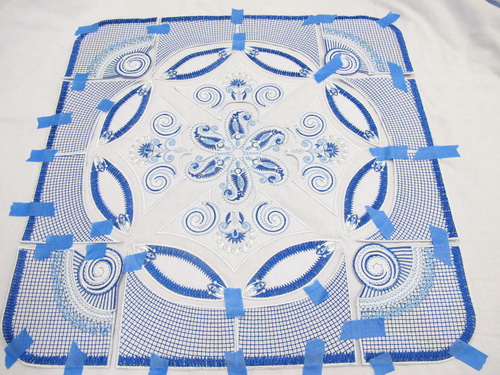
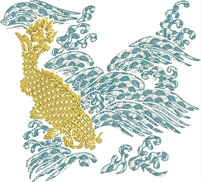
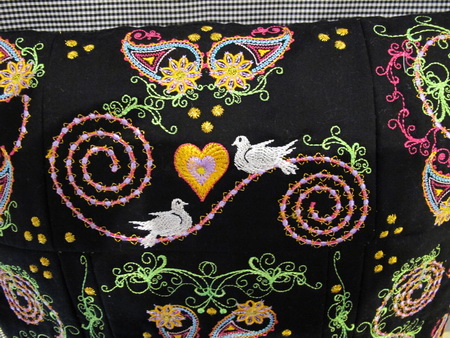
Once again position the designs as you can see in the photo above
Lightly hot glued each design onto the background fabric
Zigzag stitch each of the satin stitch borders to the background fabric
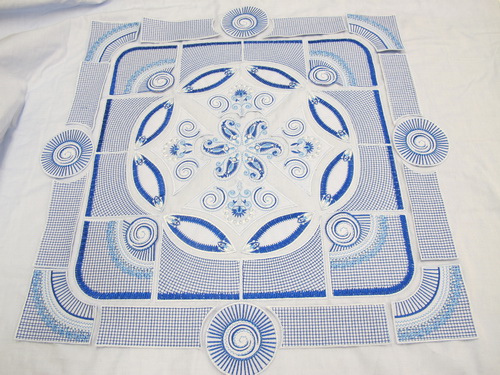
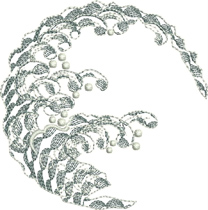
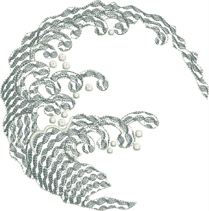
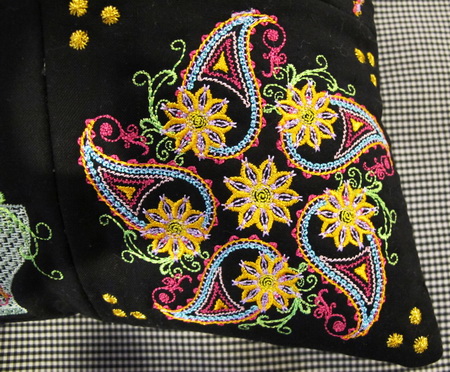
Close up photo of the positioning of “Blue Crush_17 and Blue Crush_18´
- Once again position the designs as you can see in the photo above
- Lightly hot glued each design onto the background fabric
- Zigzag stitch each of the satin stitch borders to the background fabric
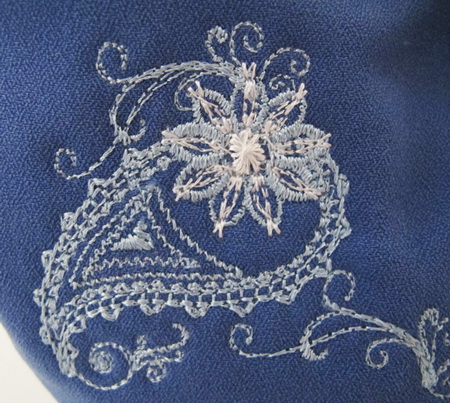
Blue Crush Red Cushion
If you look closely at the above photo taken as a close up of the red cushion you can see that I have used my decorative stitches in the sewing machine, I used a small scallop stitch, this I did after I had zigzagged each design onto the background fabric
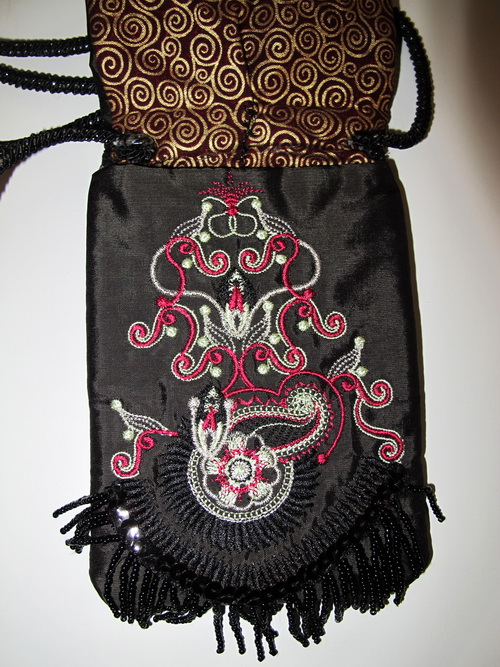
Black Purse
Notions
- 1 metre or 1 yard of black silk fabric
- 1 metre or 1 yard of thin wadding
- 1 metre or 1 yard of washed calico
- Cut Away Stabilizer
Insert into the hoop along with the black silk fabric, thin wadding, washed calico and stabilizer
Stitch out “Blue Crush_01” this design is the flap for the bag
Stitch out “Blue Crush_03” this design is under the flap and if you wish to stitch the beads, the information for this portion is in your colour instructions. The design has also taken into consideration those who do not wish to put the beads on the purse.
You can either stitch the beads onto the design by hand or you can glue the beads but remember not to take the design out of the hoop at this stage
The photo above is showing you No. 8 in the colour chart stitching out.
As you can see in the photo above you can still see the black organza that the beads are were sewn onto
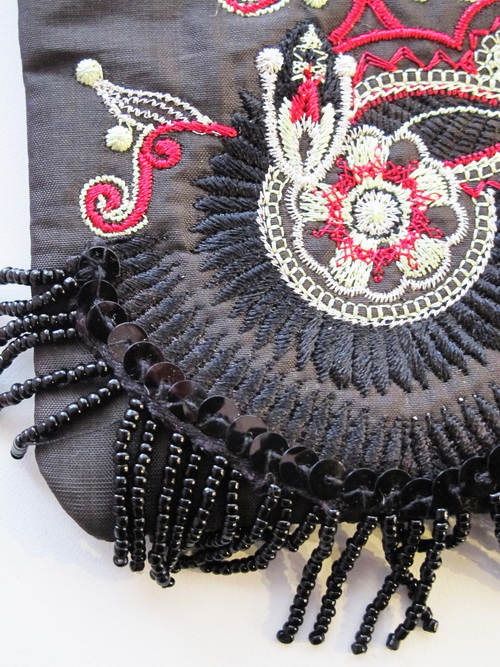
To hide the black organza I stitched the round beads onto the organza
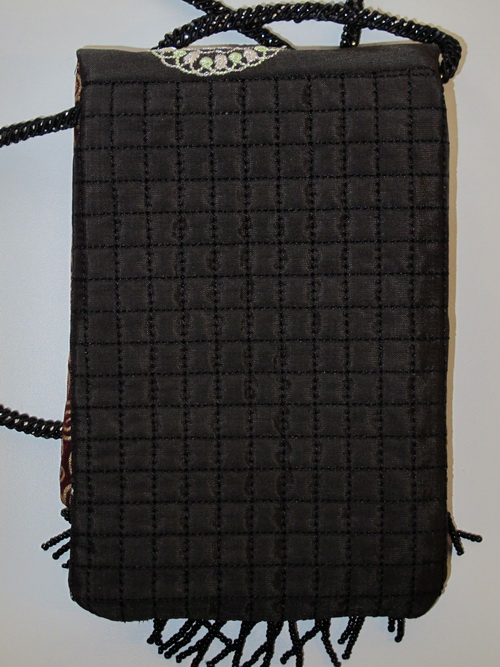
Stitch out “Blue Crush_09” which is the back of the purse
Stitch the front flap to the back of the purse
- Stitch the front beaded section to the back of the purse
- I am sorry I did not take any photos of the construction of the purse as I just plain forgot I got carried away putting the purse together must have been one of those days :)
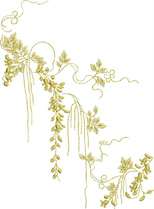
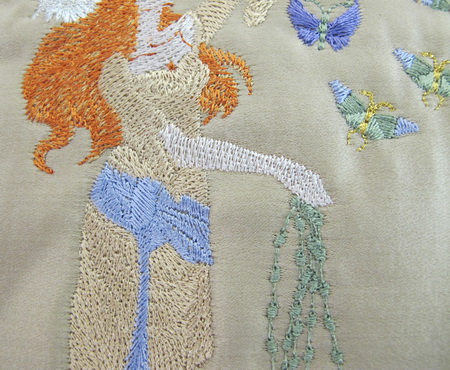
Adorabelle Fairy Instructions
Adorabelle Fairy Cushion
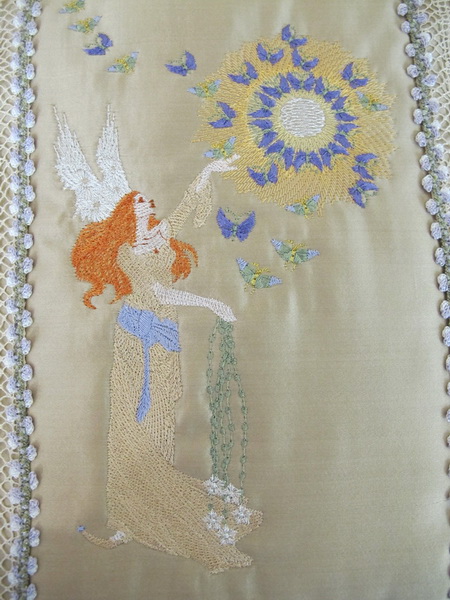
I stitched this design on silk that I had purchased in Beijing, China, it was such a beautiful silk to work with. The design I used was “Adorabelle Fairy_01” for the hoop size 9 x 6 inches or 240 x 150mm but you can stitch this design for the 5 x 7 inch or 180 x 130 hoop by stitching “Adorabelle Fairy_02” and then placing “Adorabelle Fairy_03”.
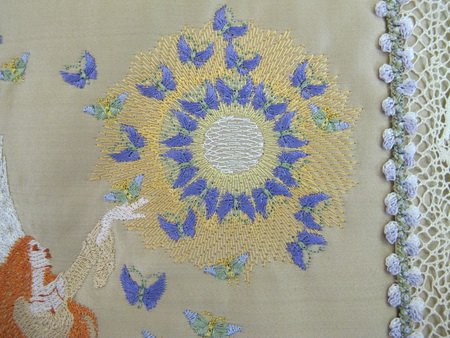
Close up of the stitching
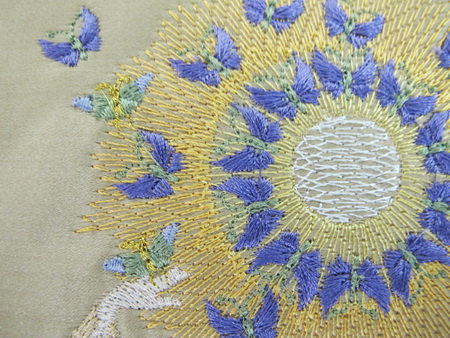
Another close up of the stitching
Close up of the stitching
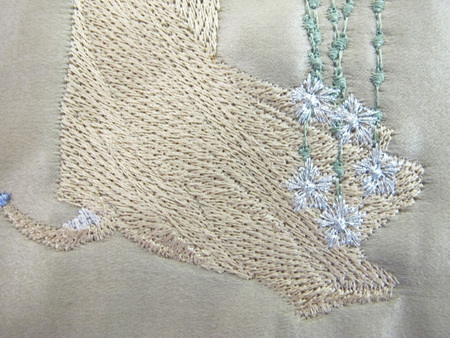
Close up of the stitching

I have many antique laces that I have collected over the years and thought this was a nice way of using the lace and over the top of the lace where I stitched the lace to the silk I stitched little mauve flowers.
Adorabelle Fairy Frame
I just love this “Aida” fabric as it has little iridescent pieces all through it and graduating colours through the fabric, so lovely for this type of work.
This “Aida” fabric I had purchased many years ago it is called Shimmering Jelly Bean Opalescent from www.peppermintstitches.com.au
I went on the website to see if they still have this fabric but was unable to obtain the fabric but if you email them they may know where you can purchase it.
I framed this work as I thought it would be lovely in a girl’s room
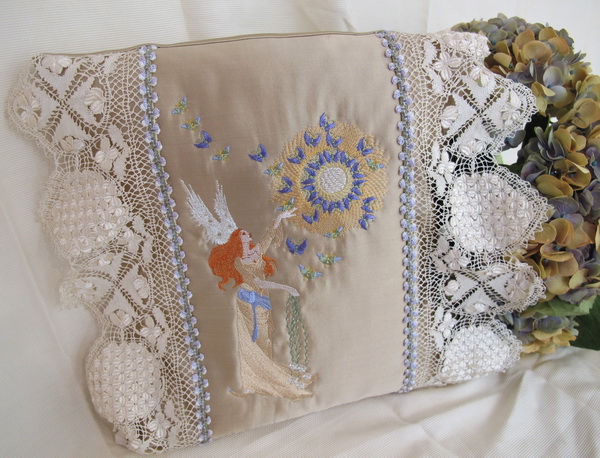
Adorabelle Fairy Bag
This tiny little bag I thought would be lovely for a little girl.
I had some of the “Aida” fabric left over and thought I would make a little bag, it did not take long to make.
I stitched “Adorabelle Fairy_08” for the little bag
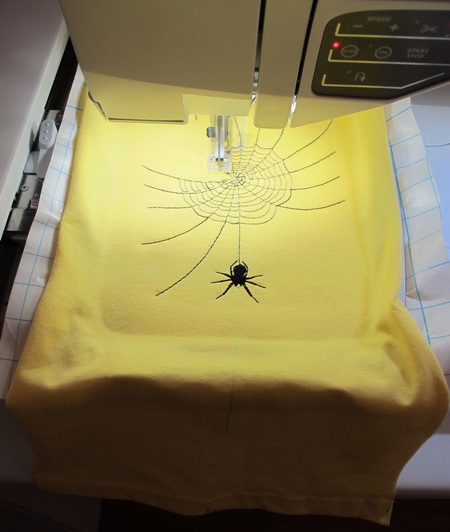
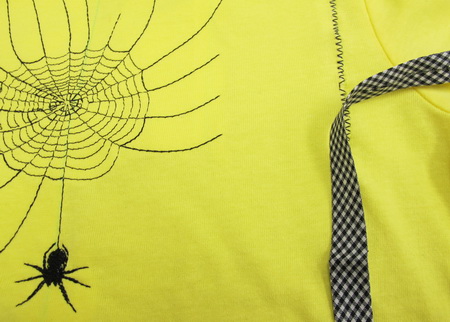
Ethan's Spider Shirt

My three year old Grandson Ethan asked if I would put a spider on a ‘T’ shirt for him that is why this design is in this set.
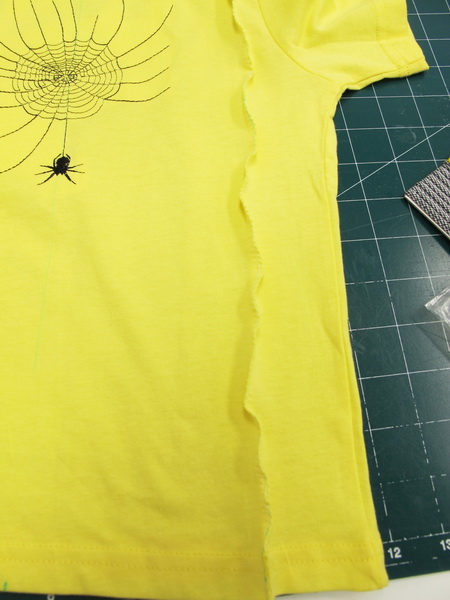
I cut with scissors each side of the ‘T’ shirt and stitched the spider design onto the front, this way I could have the design close to the neck line
Showing the cut ‘T’ shirt with the spider design stitched
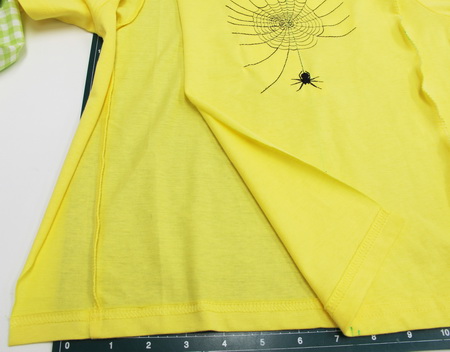
I used a zigzag stitch on either side of the ‘T’ shirt
A black thread to zigzag stitch both sides of the ‘T’ Shirt
Originally I was going to stitch a gingham bias binding down either side of the zigzag stitches but preferred the black zigzag stitches
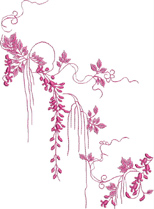
Paisley Instructions
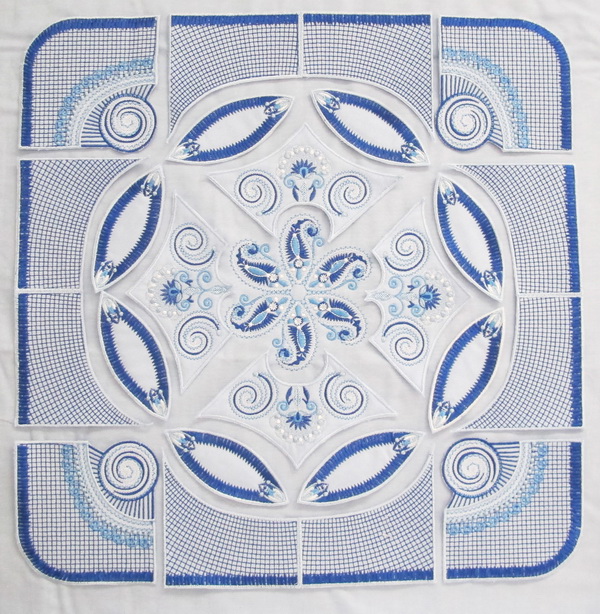
Paisley Quilt
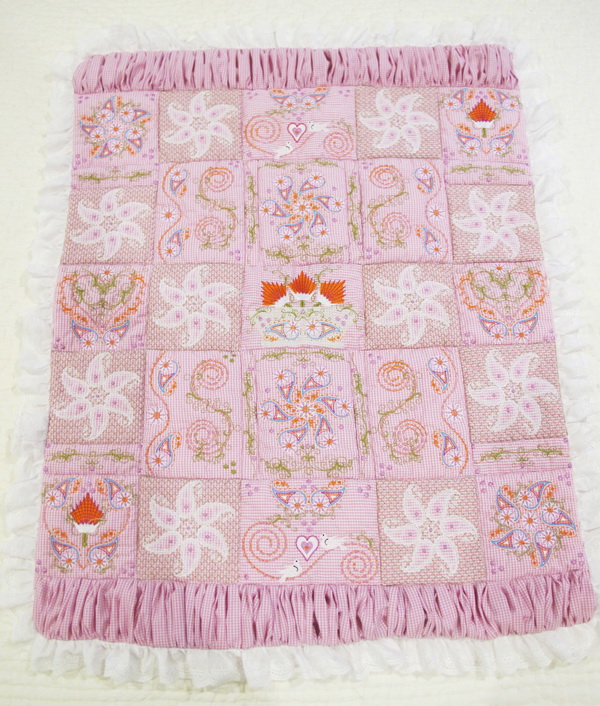
The photo above gives you the layout of the quilt
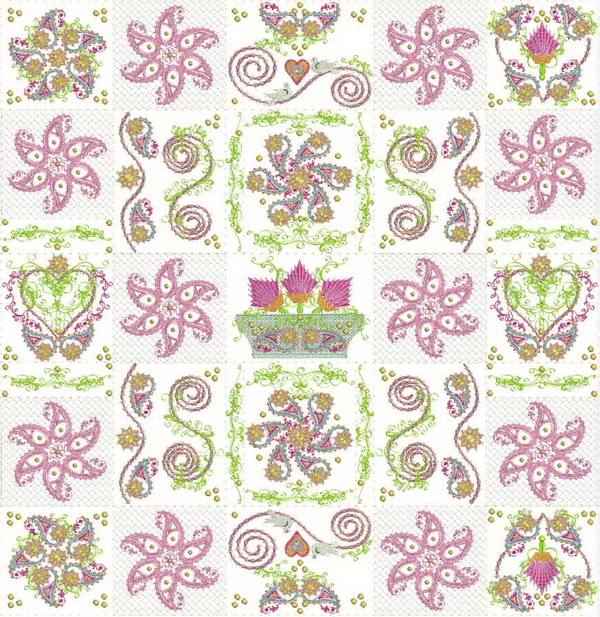
Layout of the quilt without the Paisley numbers
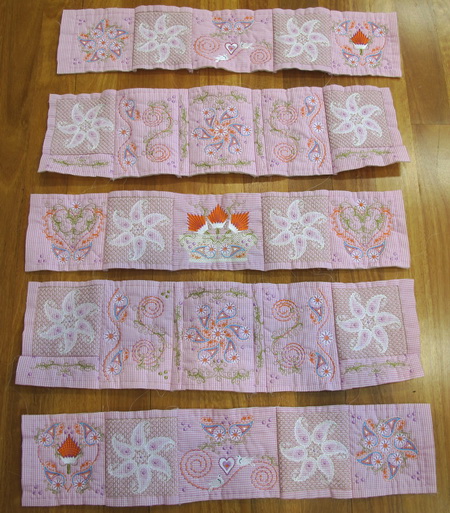
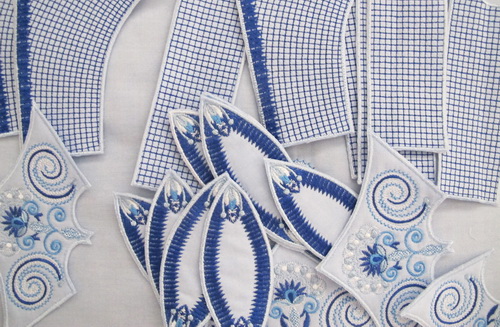
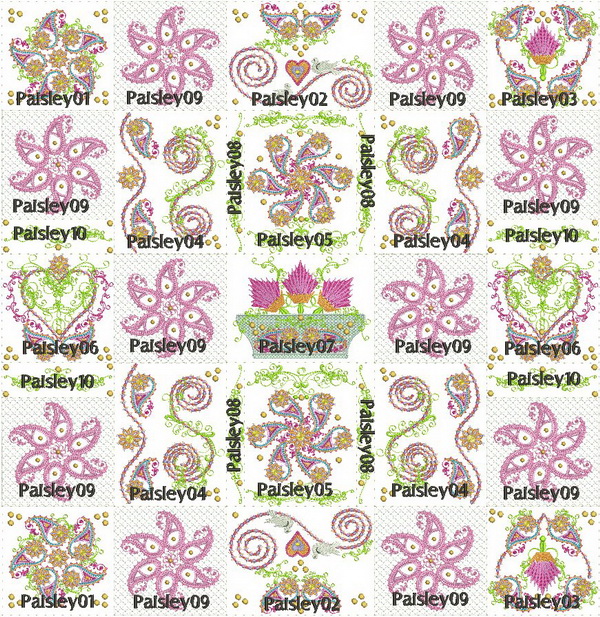
Stitch all the designs together as shown in the above photo
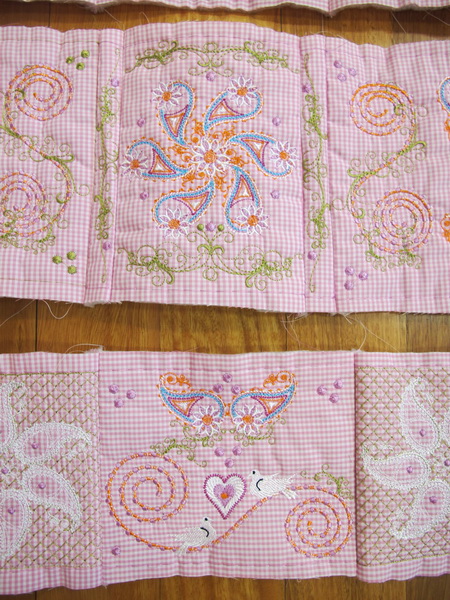
Close up of the designs stitched together
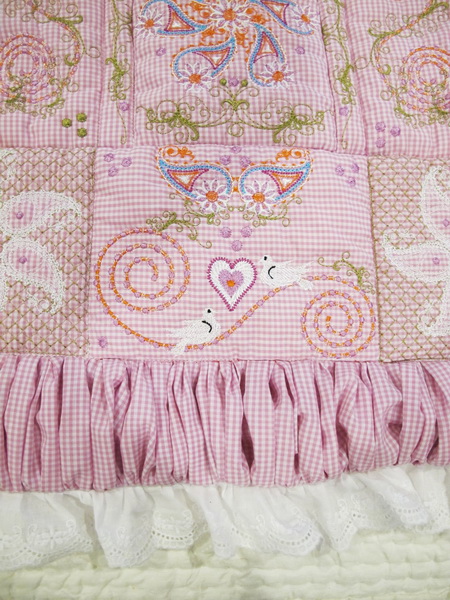
I gathered the gingham fabric both ends to give the quilt an extra dimension and then I added cotton lace
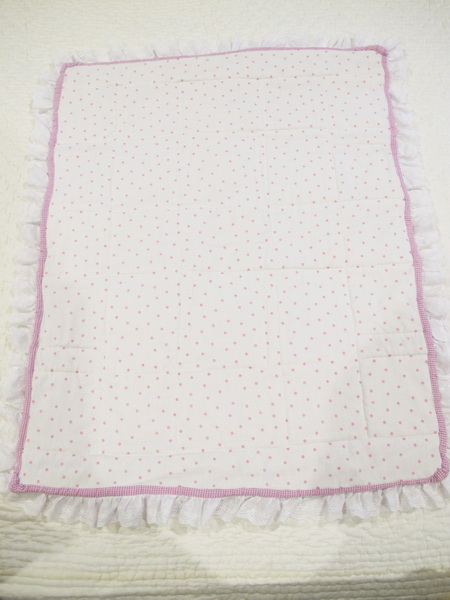
Showing you the back of the quilt
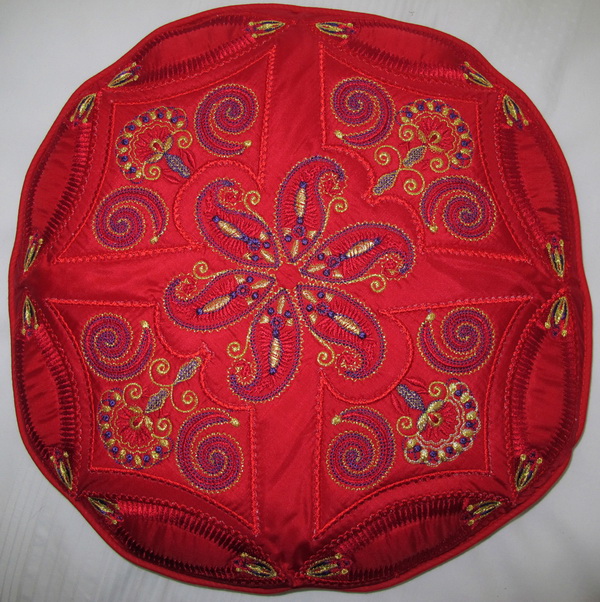
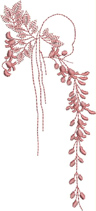
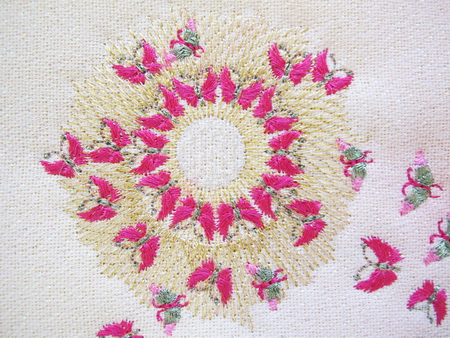
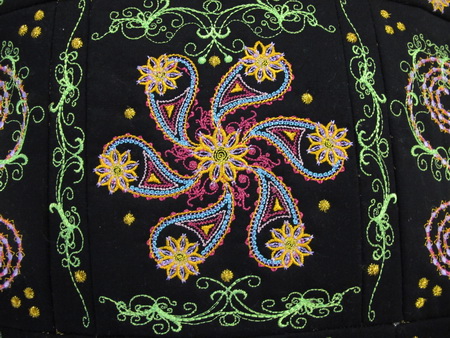
Paisley Cushion
Showing a close up of the designs used for the cushion which are:
Paisley_01
Paisley_02
Paisley_03
Paisley_06
Paisley_07
Paisley_09
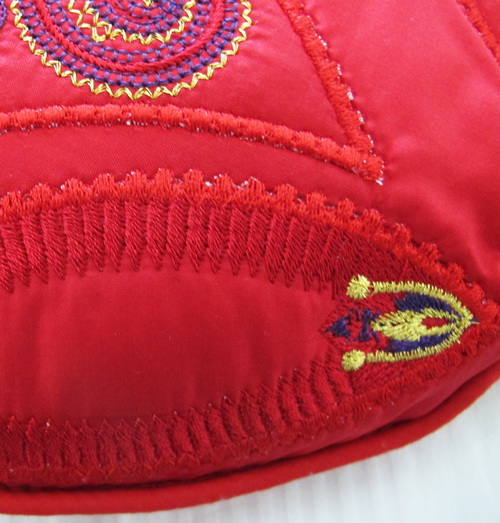
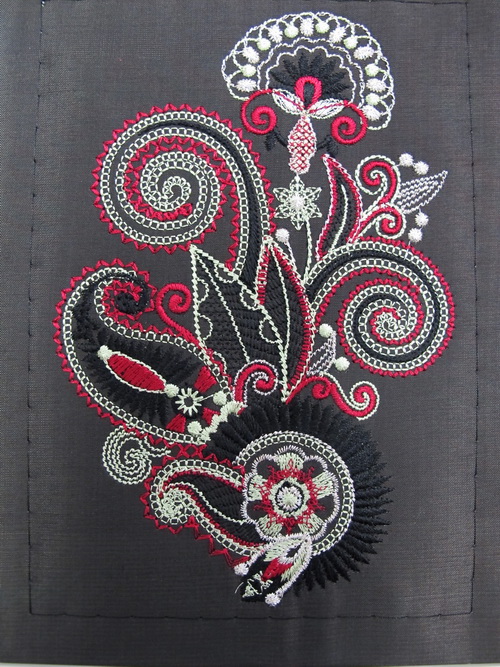
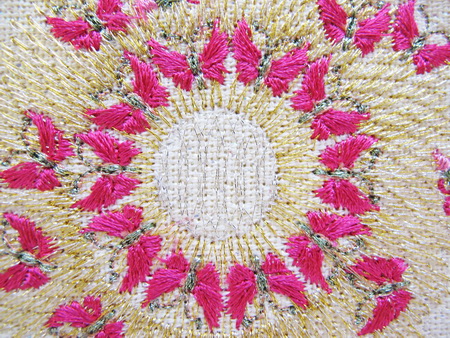
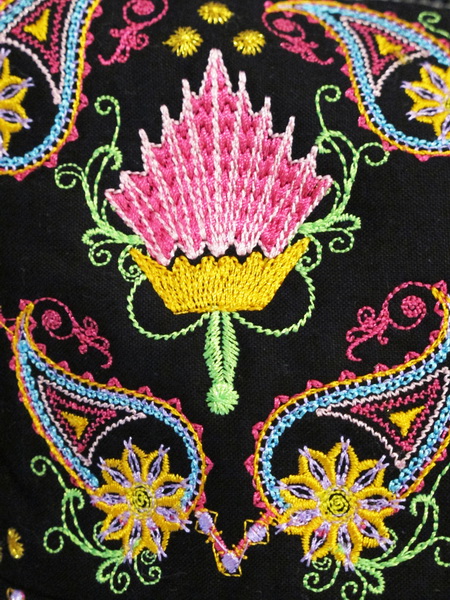
Close up of the embroidery detail of “Paisley_01”
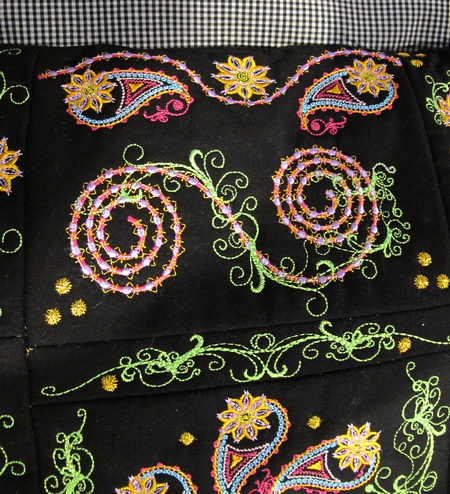
Close up of the embroidery detail of “Paisley_02”
Close up of the embroidery detail of “Paisley_02”
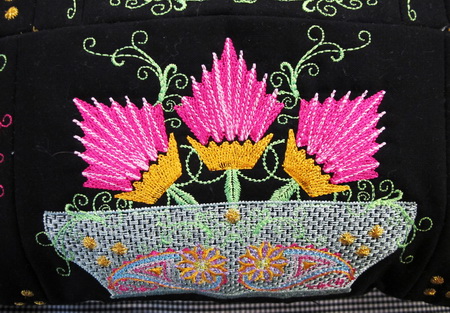
Close up of the embroidery detail of “Paisley_03”
Close up of the embroidery detail of “Paisley_01”
Close up of the embroidery detail of “Paisley_06”
Close up of the embroidery detail of “Paisley_07”
Close up of the embroidery detail of “Paisley_09”
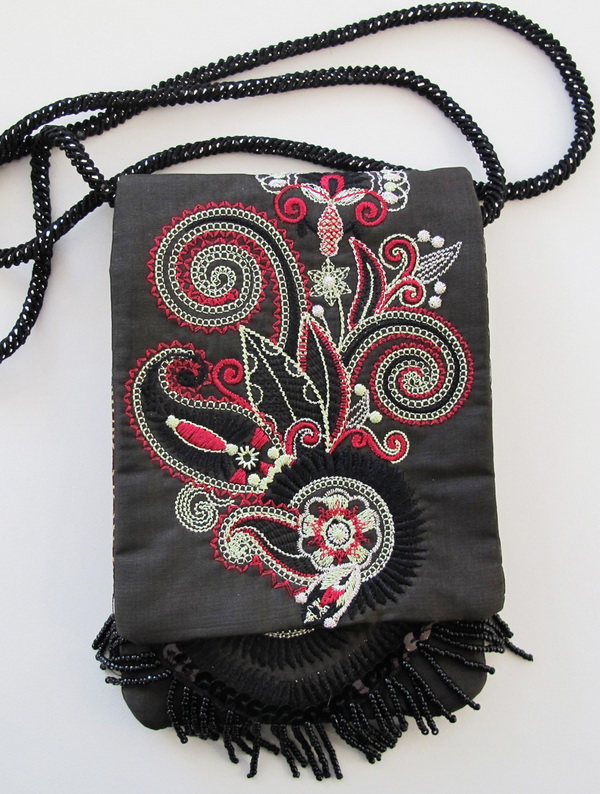
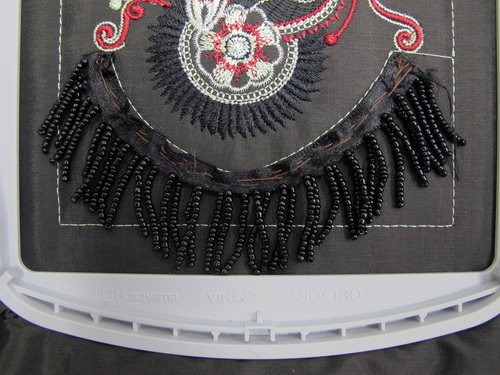
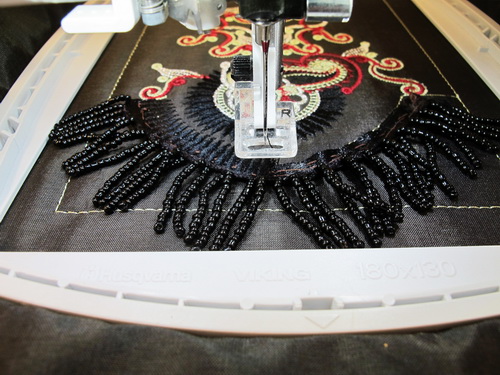
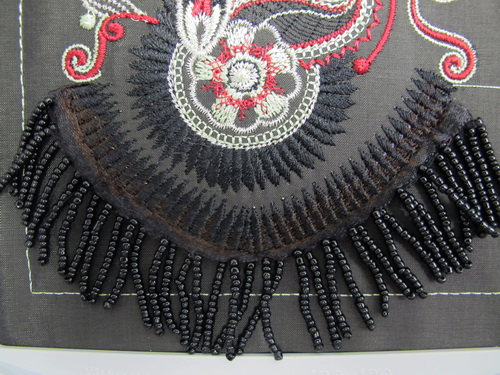
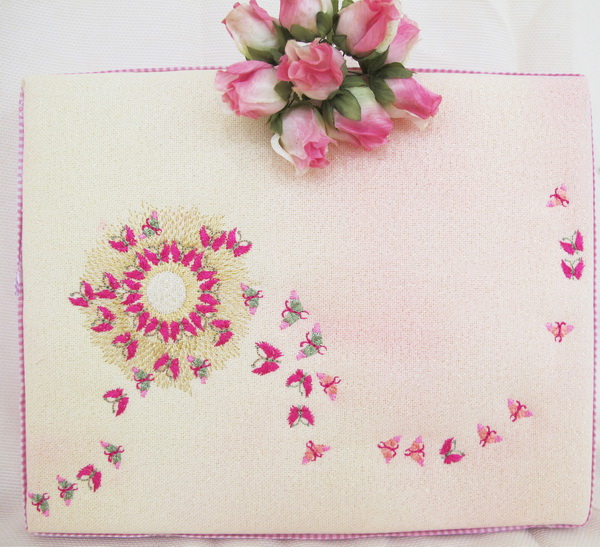
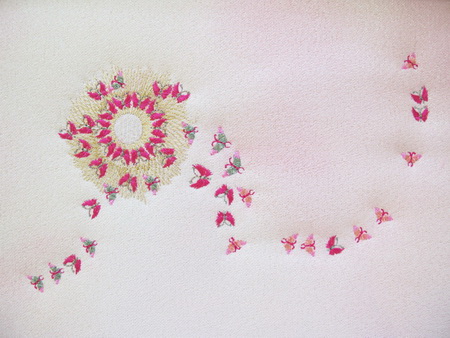
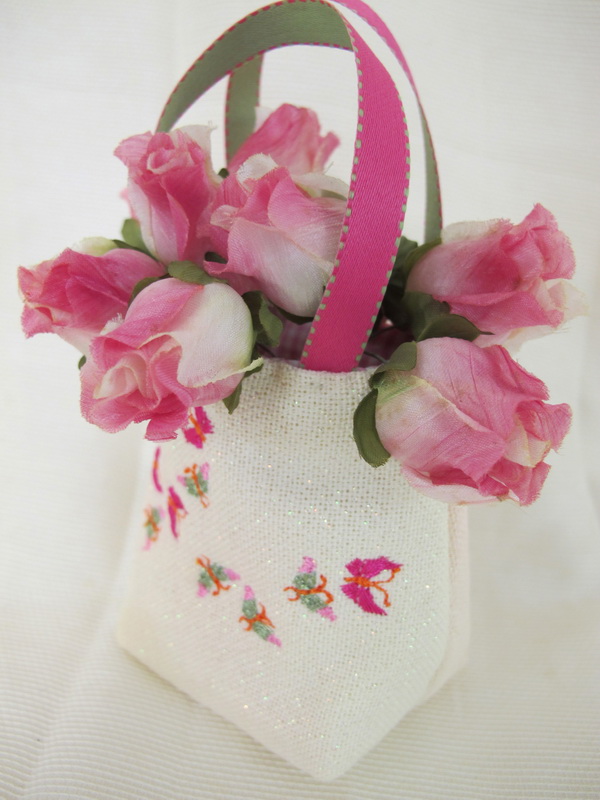
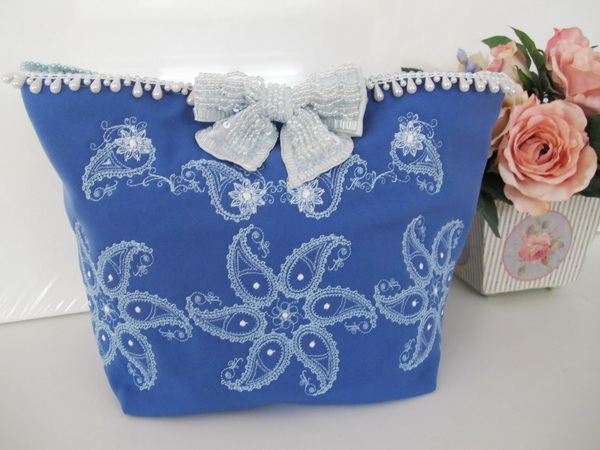
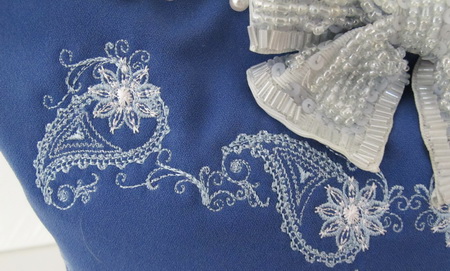
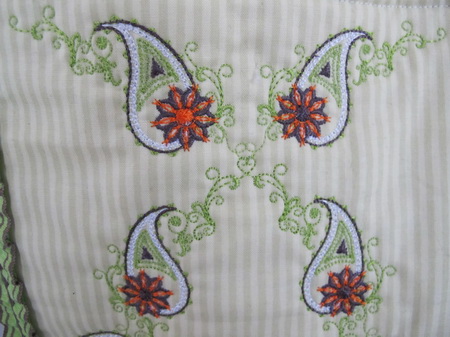
Paisley Bag
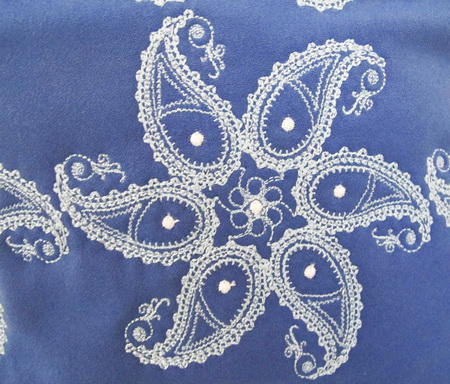
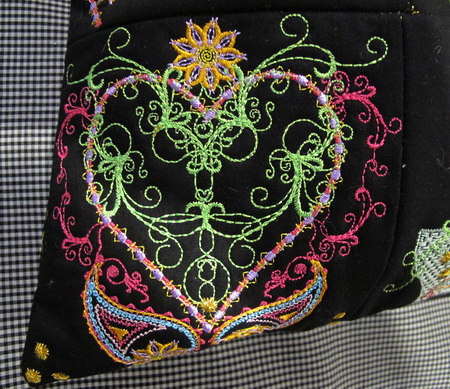
Close up of the embroidery detail of “Paisley_16”
Close up of the embroidery detail
Close up of the embroidery detail
I used two type of beads for the edging a blue beading which I sewed along the inside edge and then the white beads on the front edge, mind you I did all the beading by hand!!! but I think the result was worth it. I had purchased around three years ago at a Sydney quilt festival the gorgeous sequined bow.
Paisley Shopping Bag
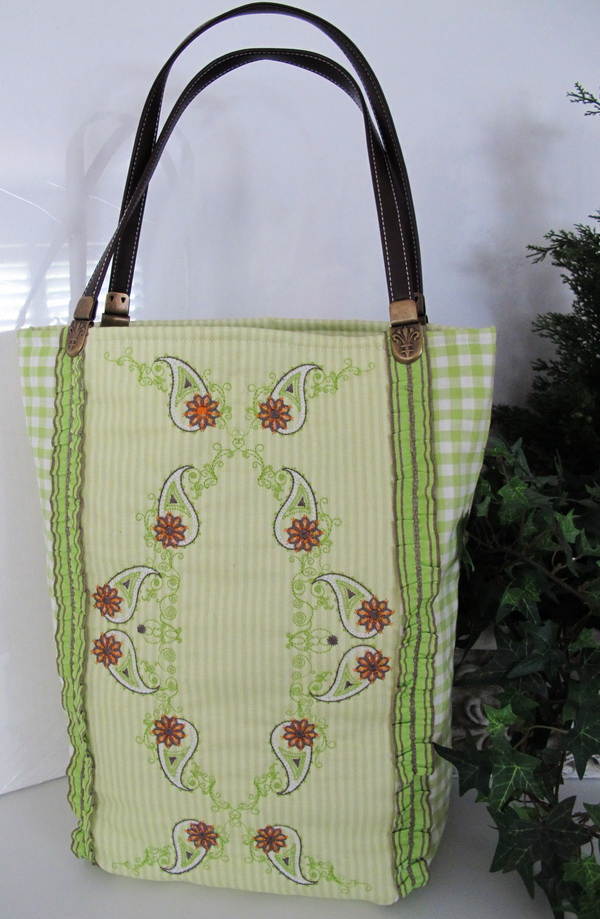
Showing you how many different way of using just one of the designs “Paisley_12” on the front of the bag
I stitched on the green stripe fabric “Paisley_12”
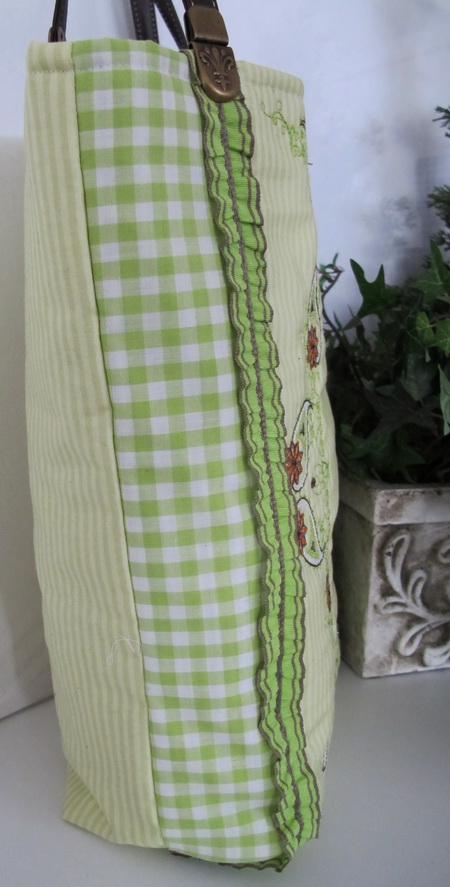
Showing the side and back view of the bag
Machine Embroidery Designs
Latest Releases
Folklore Machine Embroidery Designs
Released on the 25th June 2019

6 designs included in the Folklore machine embroidery design set.
The Folklore design is suitable for a 6 x 10 inch or 240mm x 150mm hoop.
The Folklore design is available in DST, EMB, EXP, HUS, JEF, PES, VIP, VP3 and XXX.
The colour chart is included in the design set
As I am now digitizing with Wilcom embroidery software (which is a commercial software) we are unable to convert files to ART format. Bernina embroidery machines will now need to purchase designs in EMB or EXP format. Sorry for the inconvenience.


